


Making a knife from flat stock
Part 2: Grinding the bevel

In Part 1 I got through making the basic shape of the knife. In this part I’ll show you how I grind the edge and bevel onto a knife. Here I’m doing a very simple bevel (I believe it’s known as a Scandi grind) due to the relatively thin steel (11/64 inches) I’m using; a thicker steel would require a deeper grind. You can find out more about different knife grinds on line.
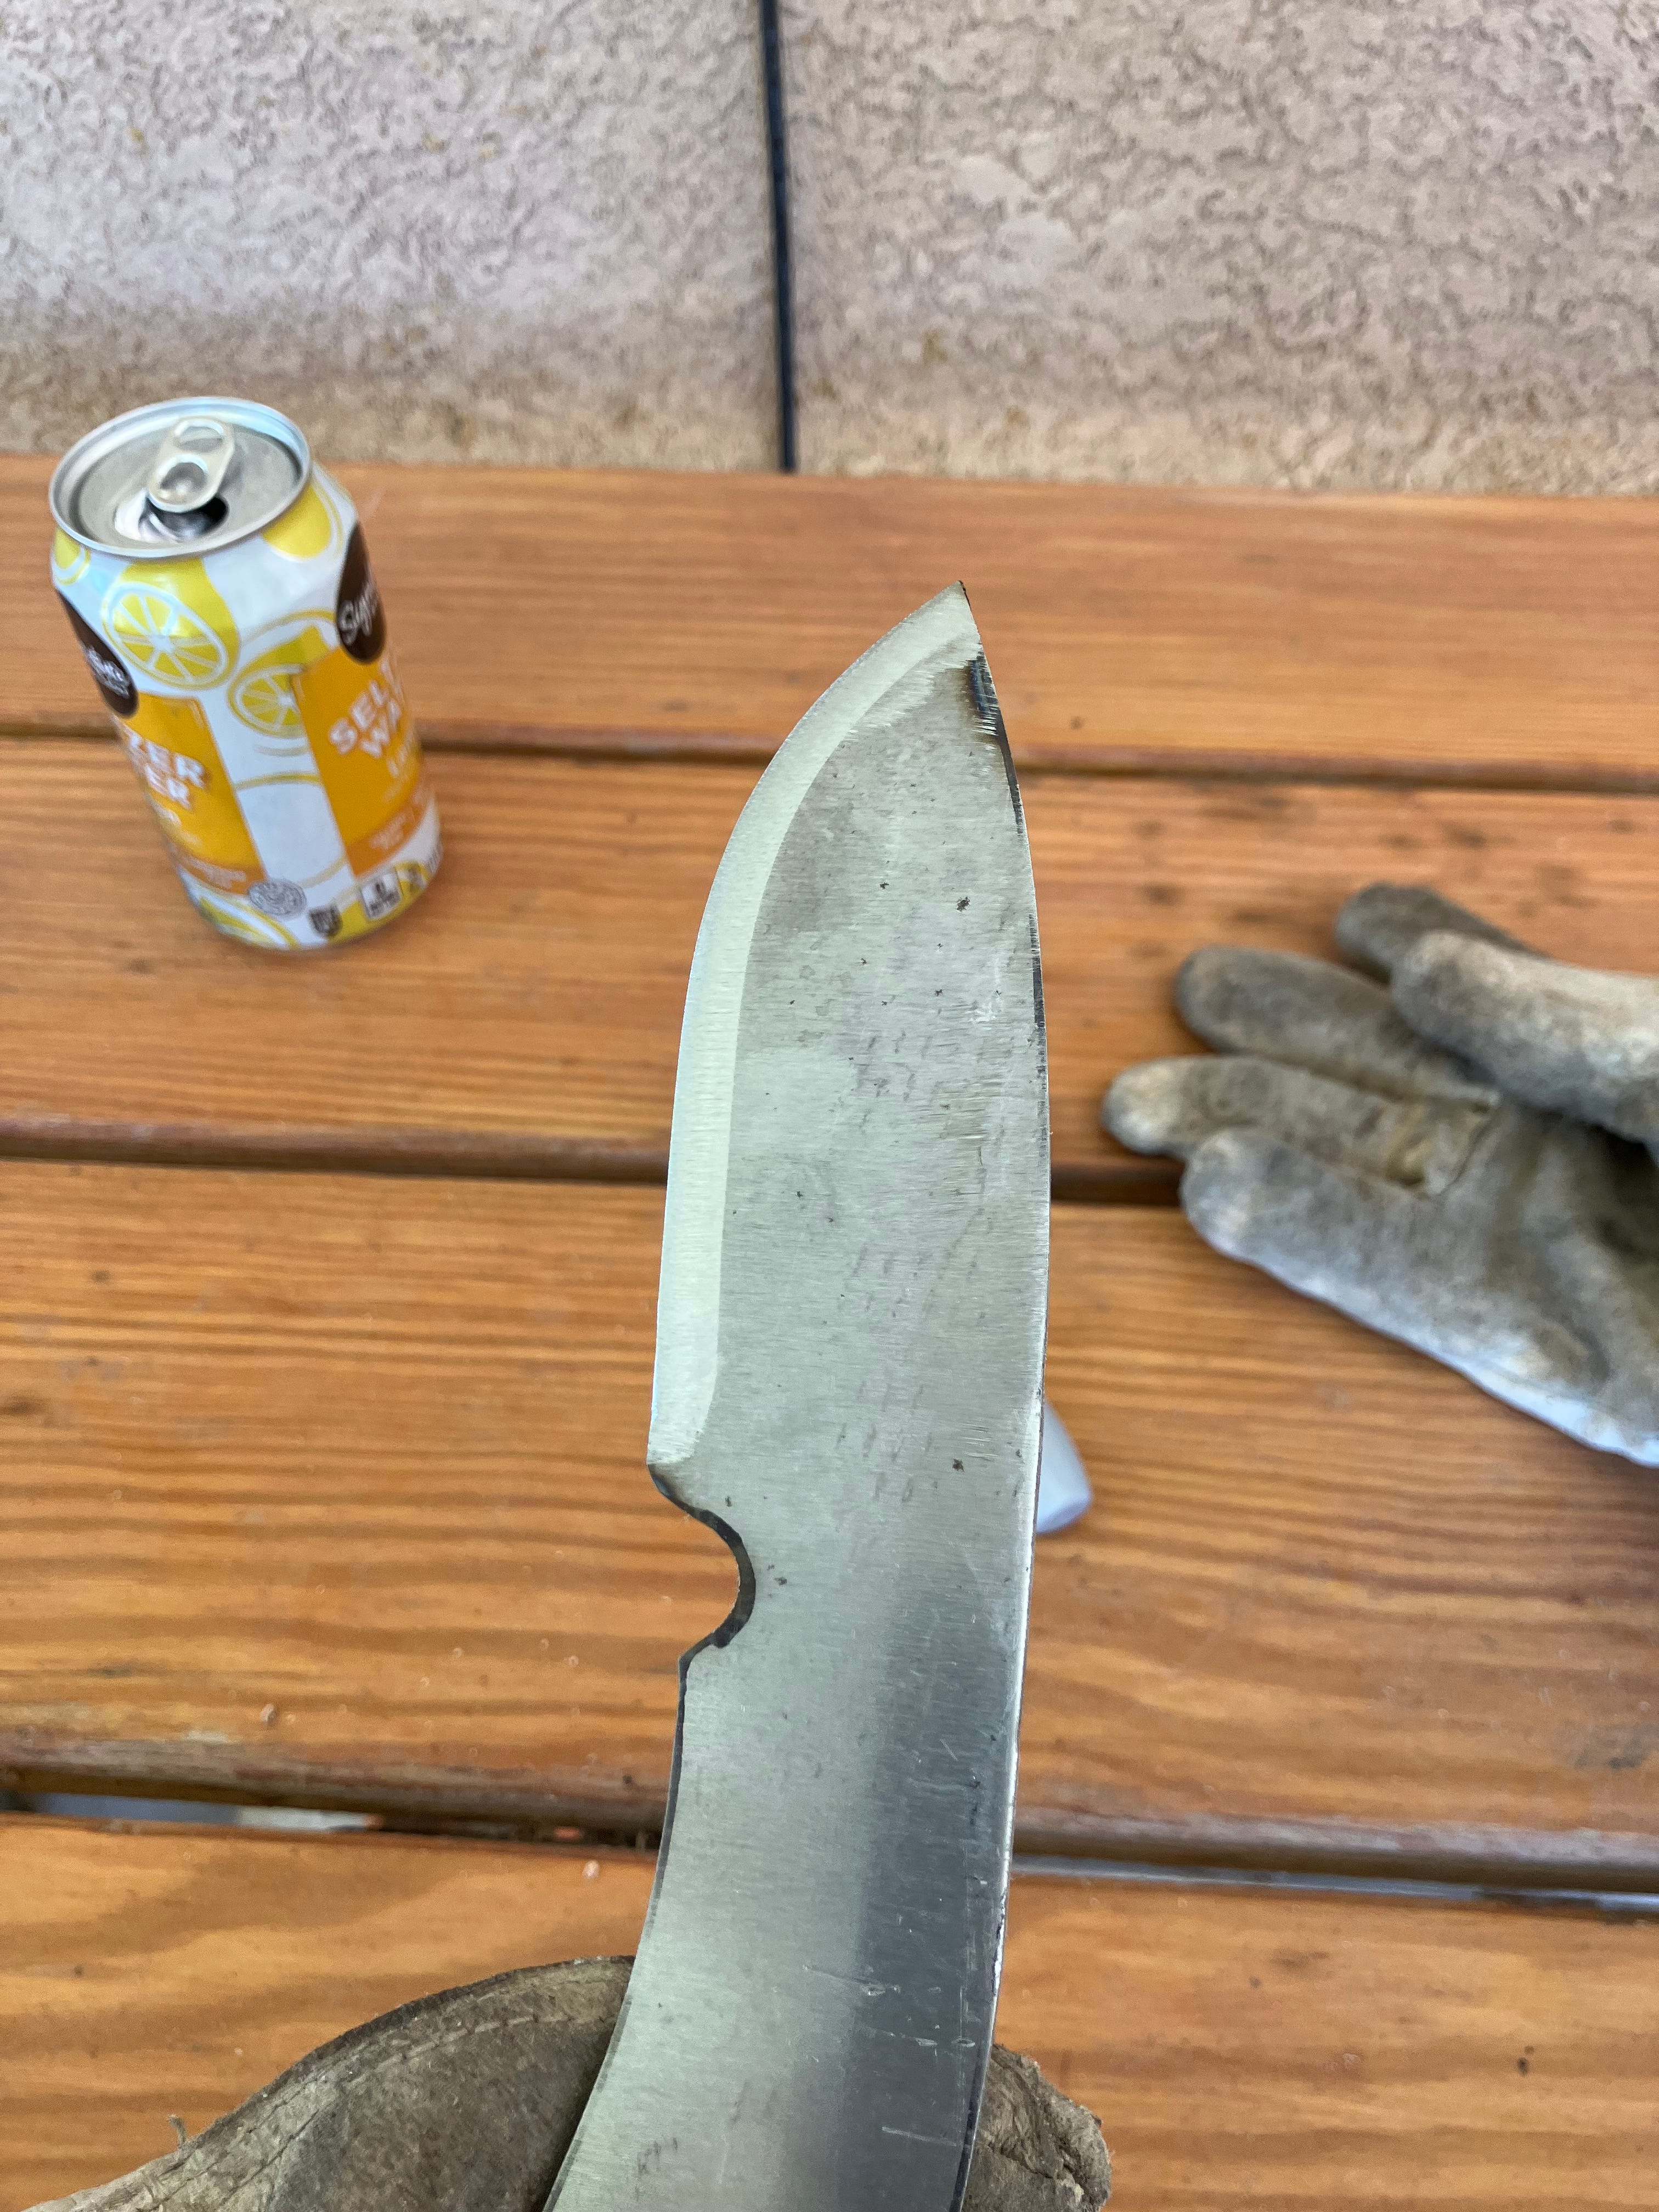
Bevelling is the part that takes the longest after the shaping. The most important thing about bevelling the knife is to make sure the blade is symmetrical. I do this by marking the edge of the blade and grinding a little on both sides until I have an “almost sharp” edge, then grinding back from that towards the back of the blade. In order to keep it symmetrical I mark where the edge will be. I learned this trick of marking where the edge will be from a YouTube video a long time ago; basically, I use a Sharpie and coat the edge black:
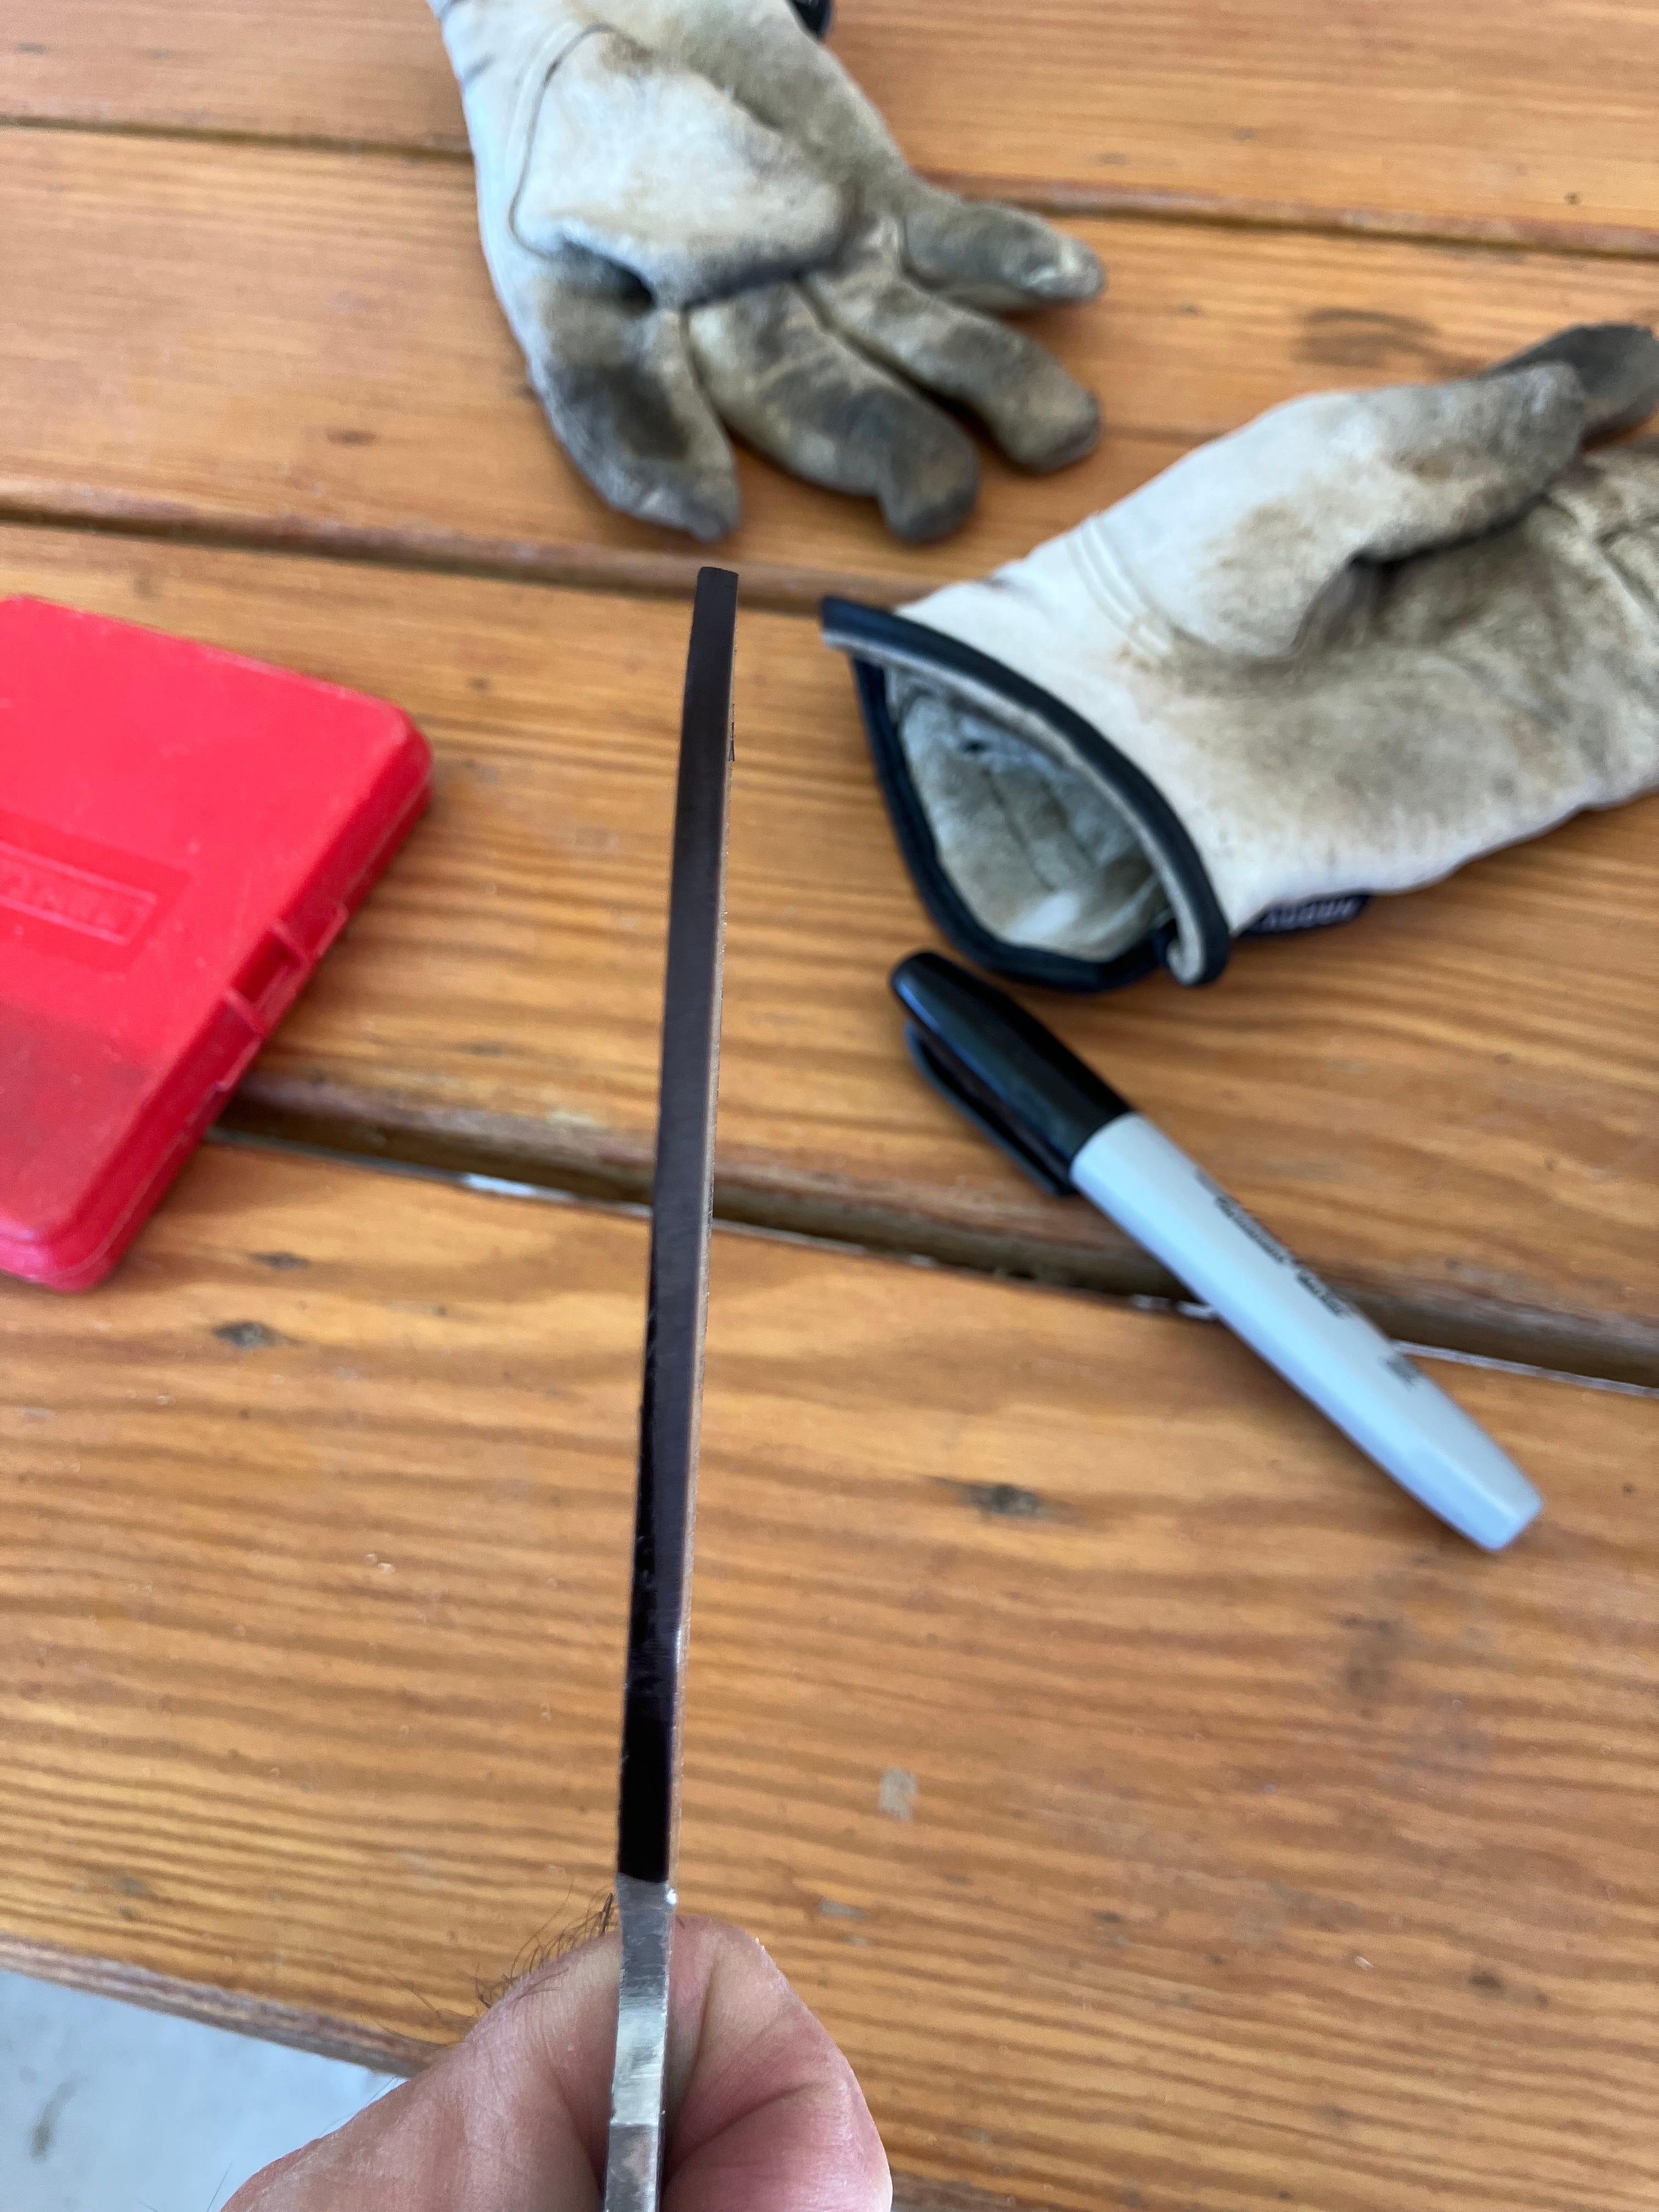
Then I get a drill bit the same width as the thickness of my steel (in this case 11/64 inches) and, with the blade flat on the work bench, I lay the drill bit flat on the bench and scrape the blade along the tip. Perfect center line!
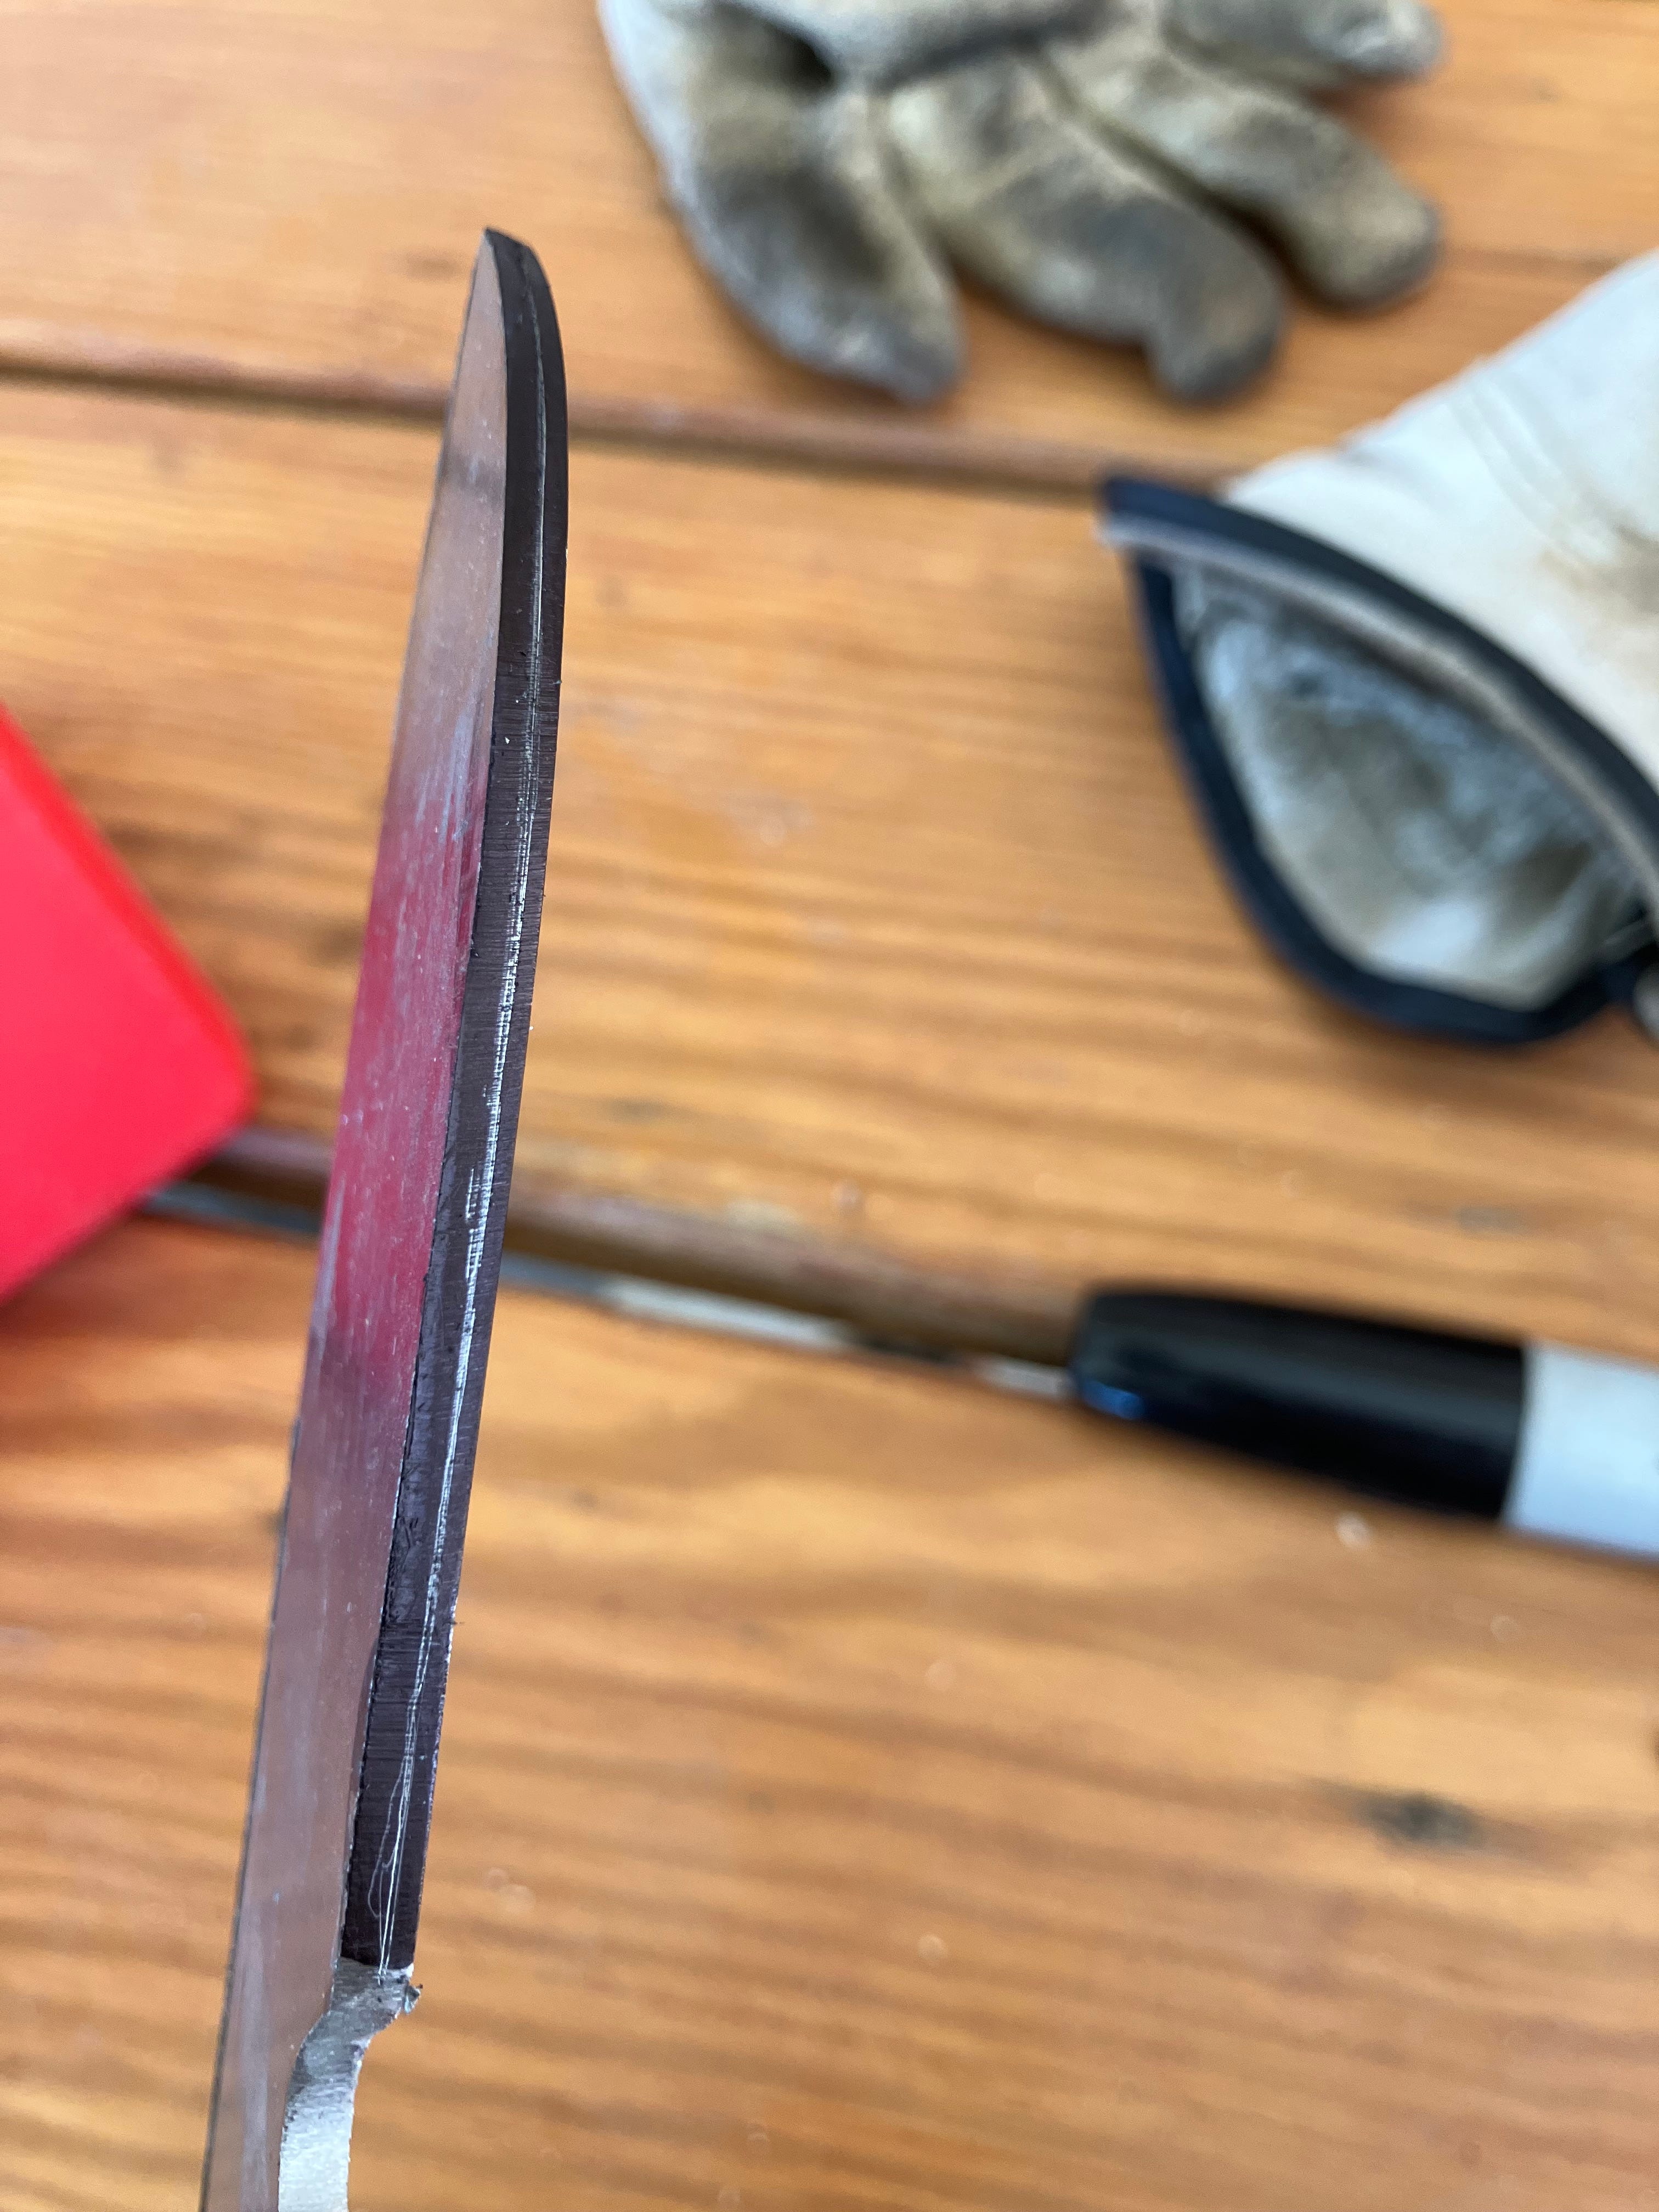
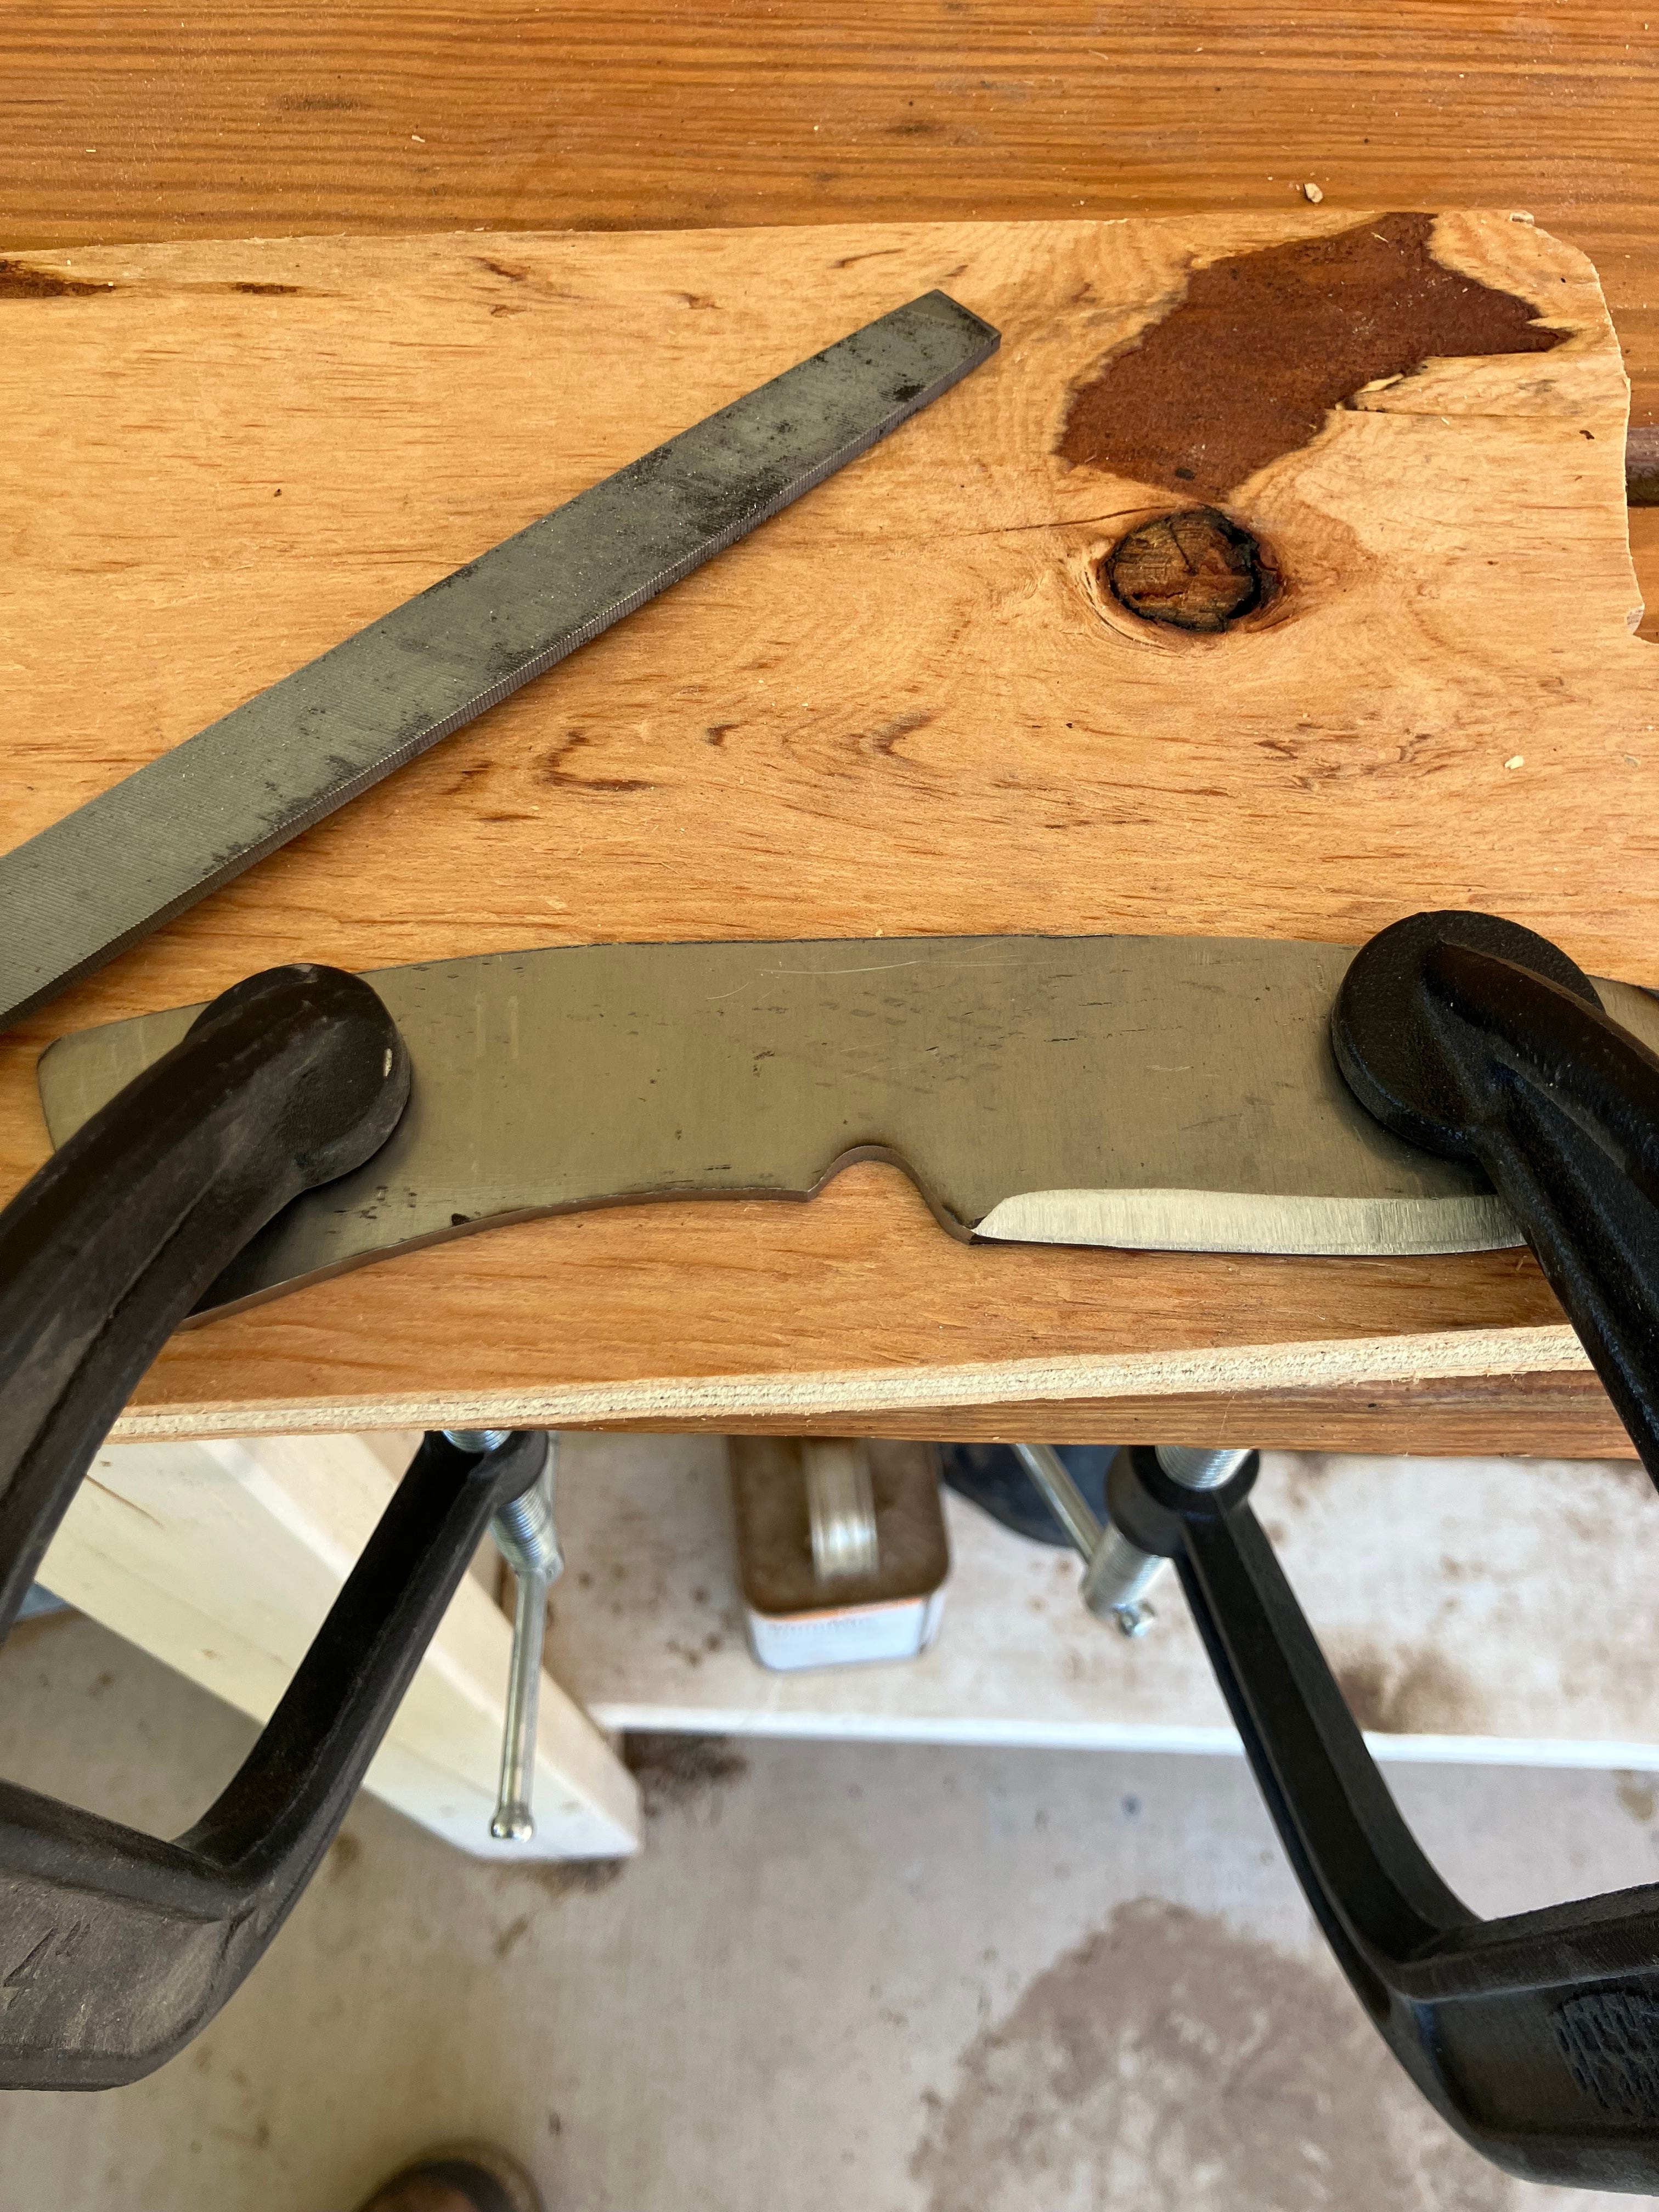
Next, I grind the edge in to “almost sharp” meaning a few millimeters wide. You don’t want to go too thin because you could burn the edge off during heat treating, or have it warp during quenching. If you go too thick it will take forever to get an edge on it once you’ve hardened the steel. How thin is thin enough is kind of a trial and error process but I find around 1 to 2 mm works for me.
I grind at an aggressive angle to begin with, grinding a little on each side and looking down the knife from the point in between to make sure I’m keeping that edge straight. I’ve never used a jig; lots of knife makers do but I don’t make enough blades to be bothered. I eyeball it. It works for me.
When I’m grinding I find that the trouble spots are not in keeping the edge symmetrical as much in material comes off the tip and handle end of the blade faster than the belly of the blade. So I have to be sure I work the belly a bit more than the ends.
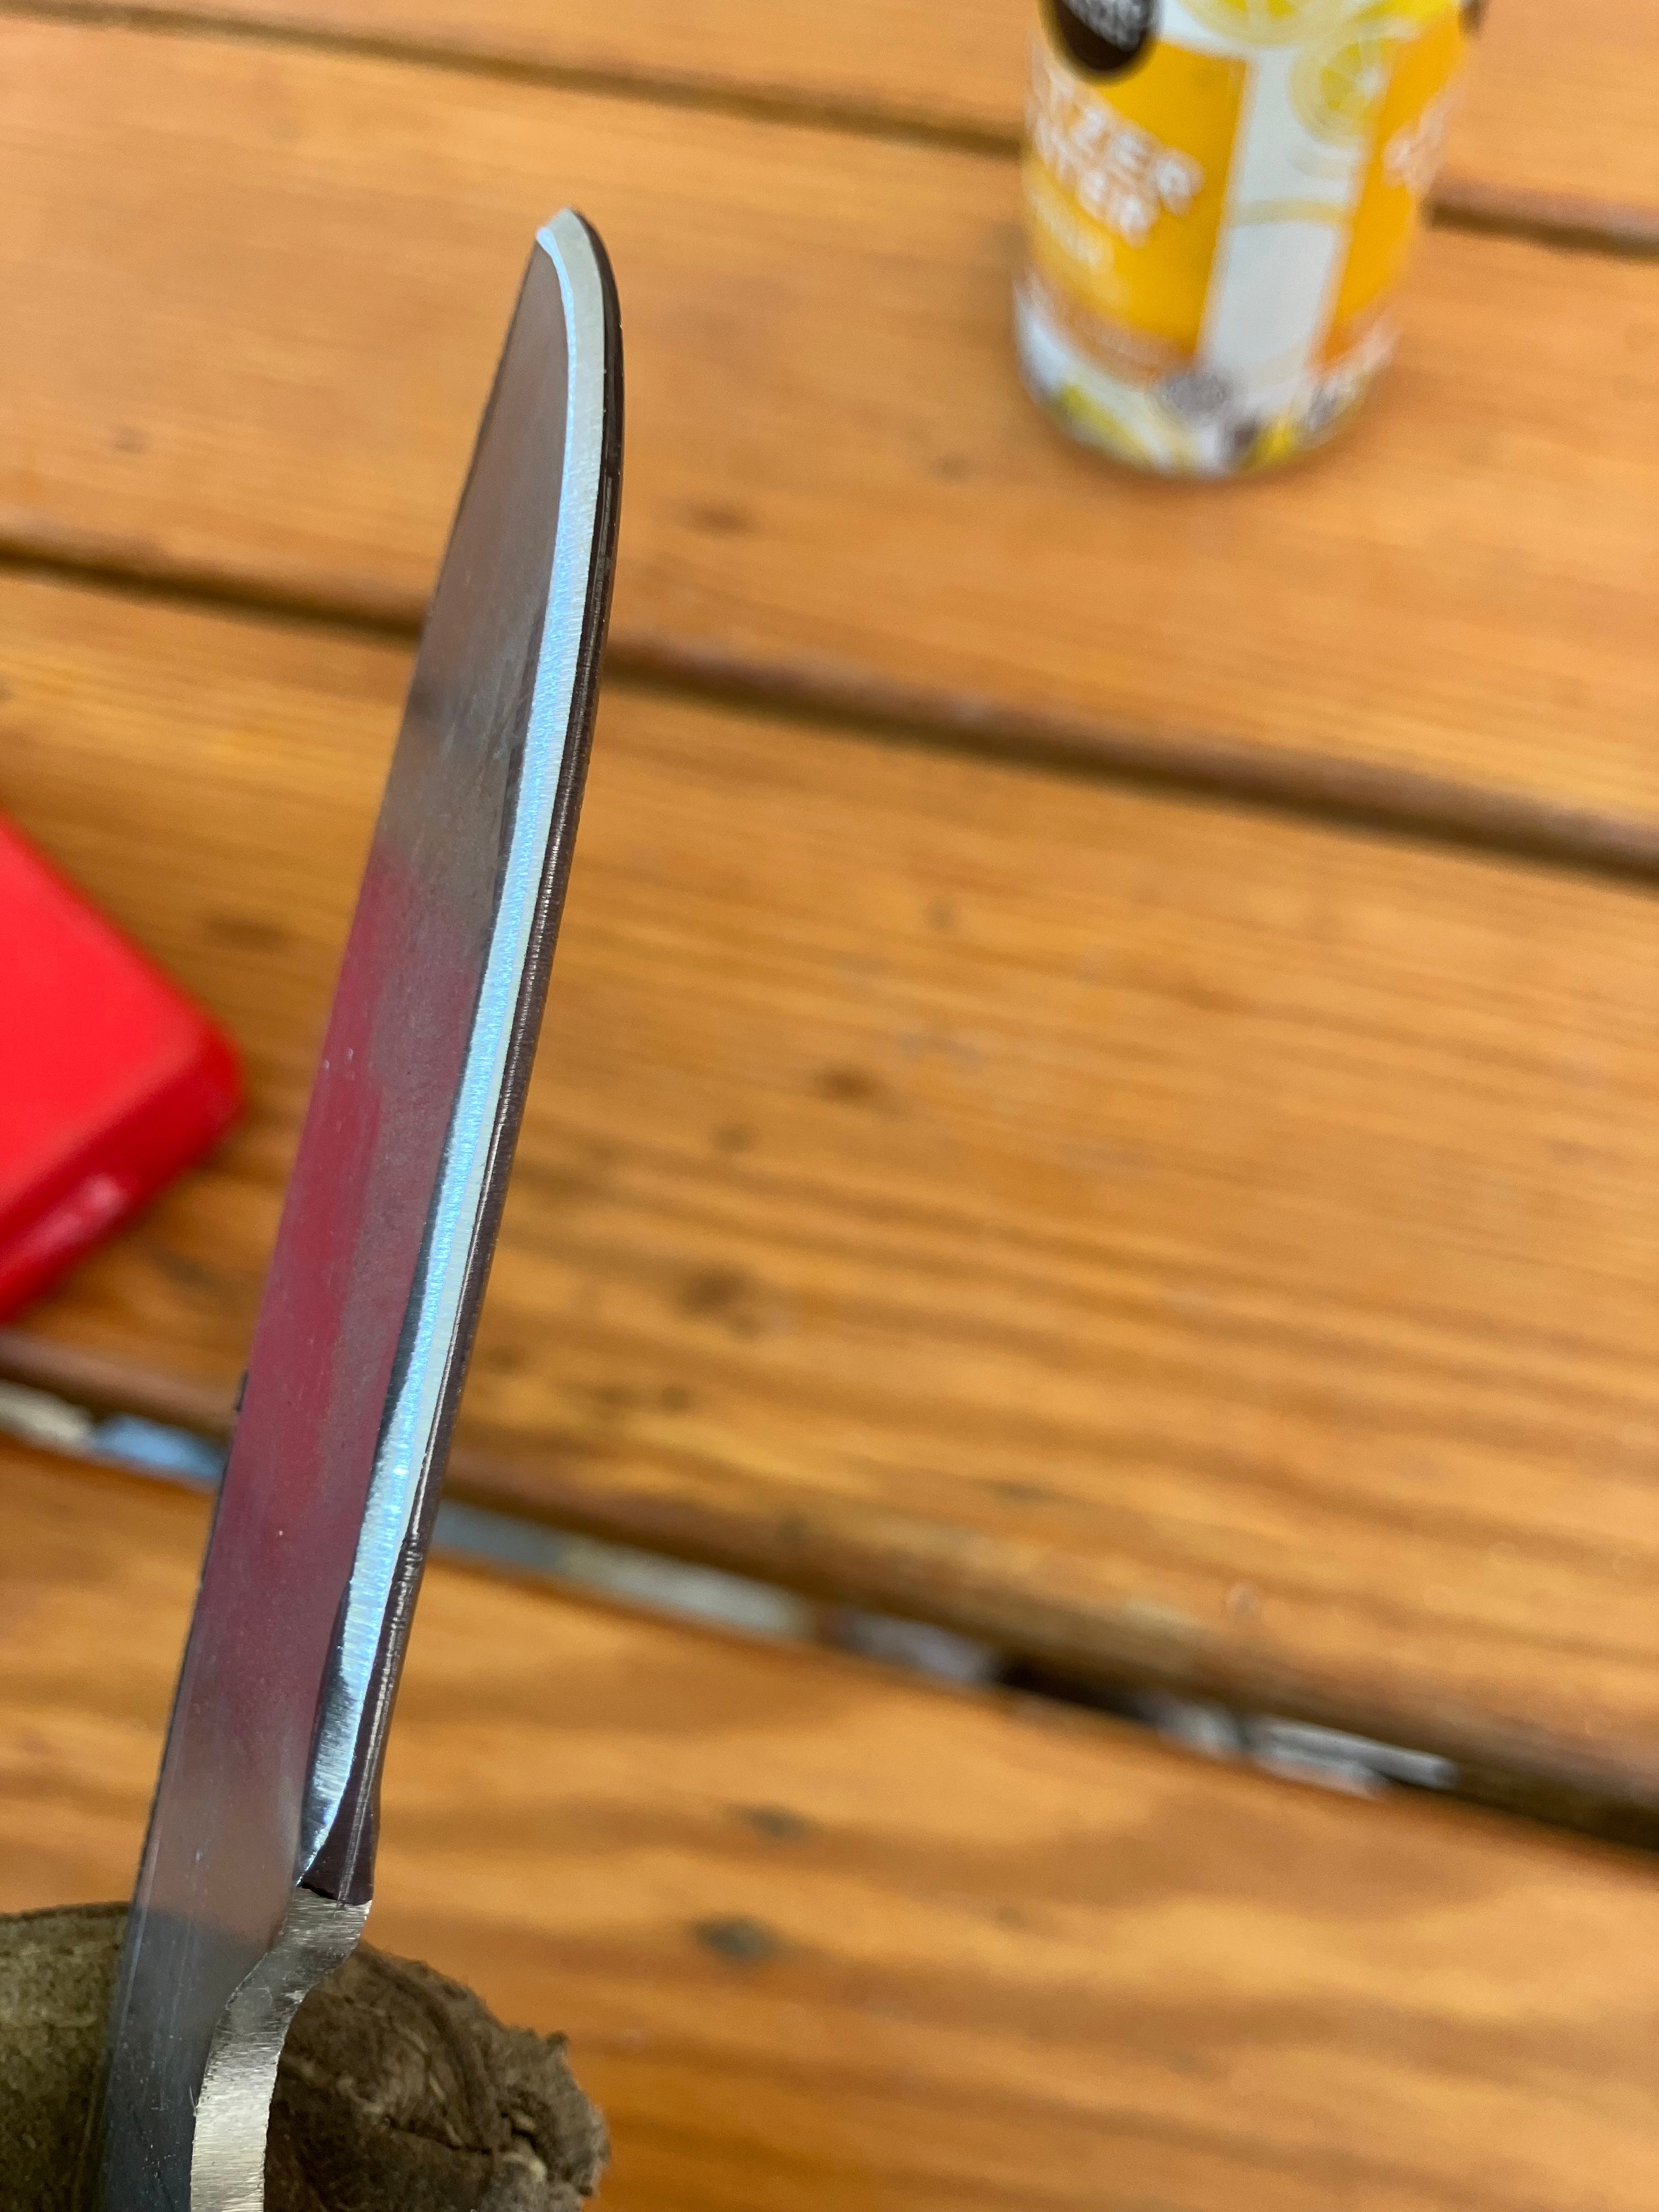
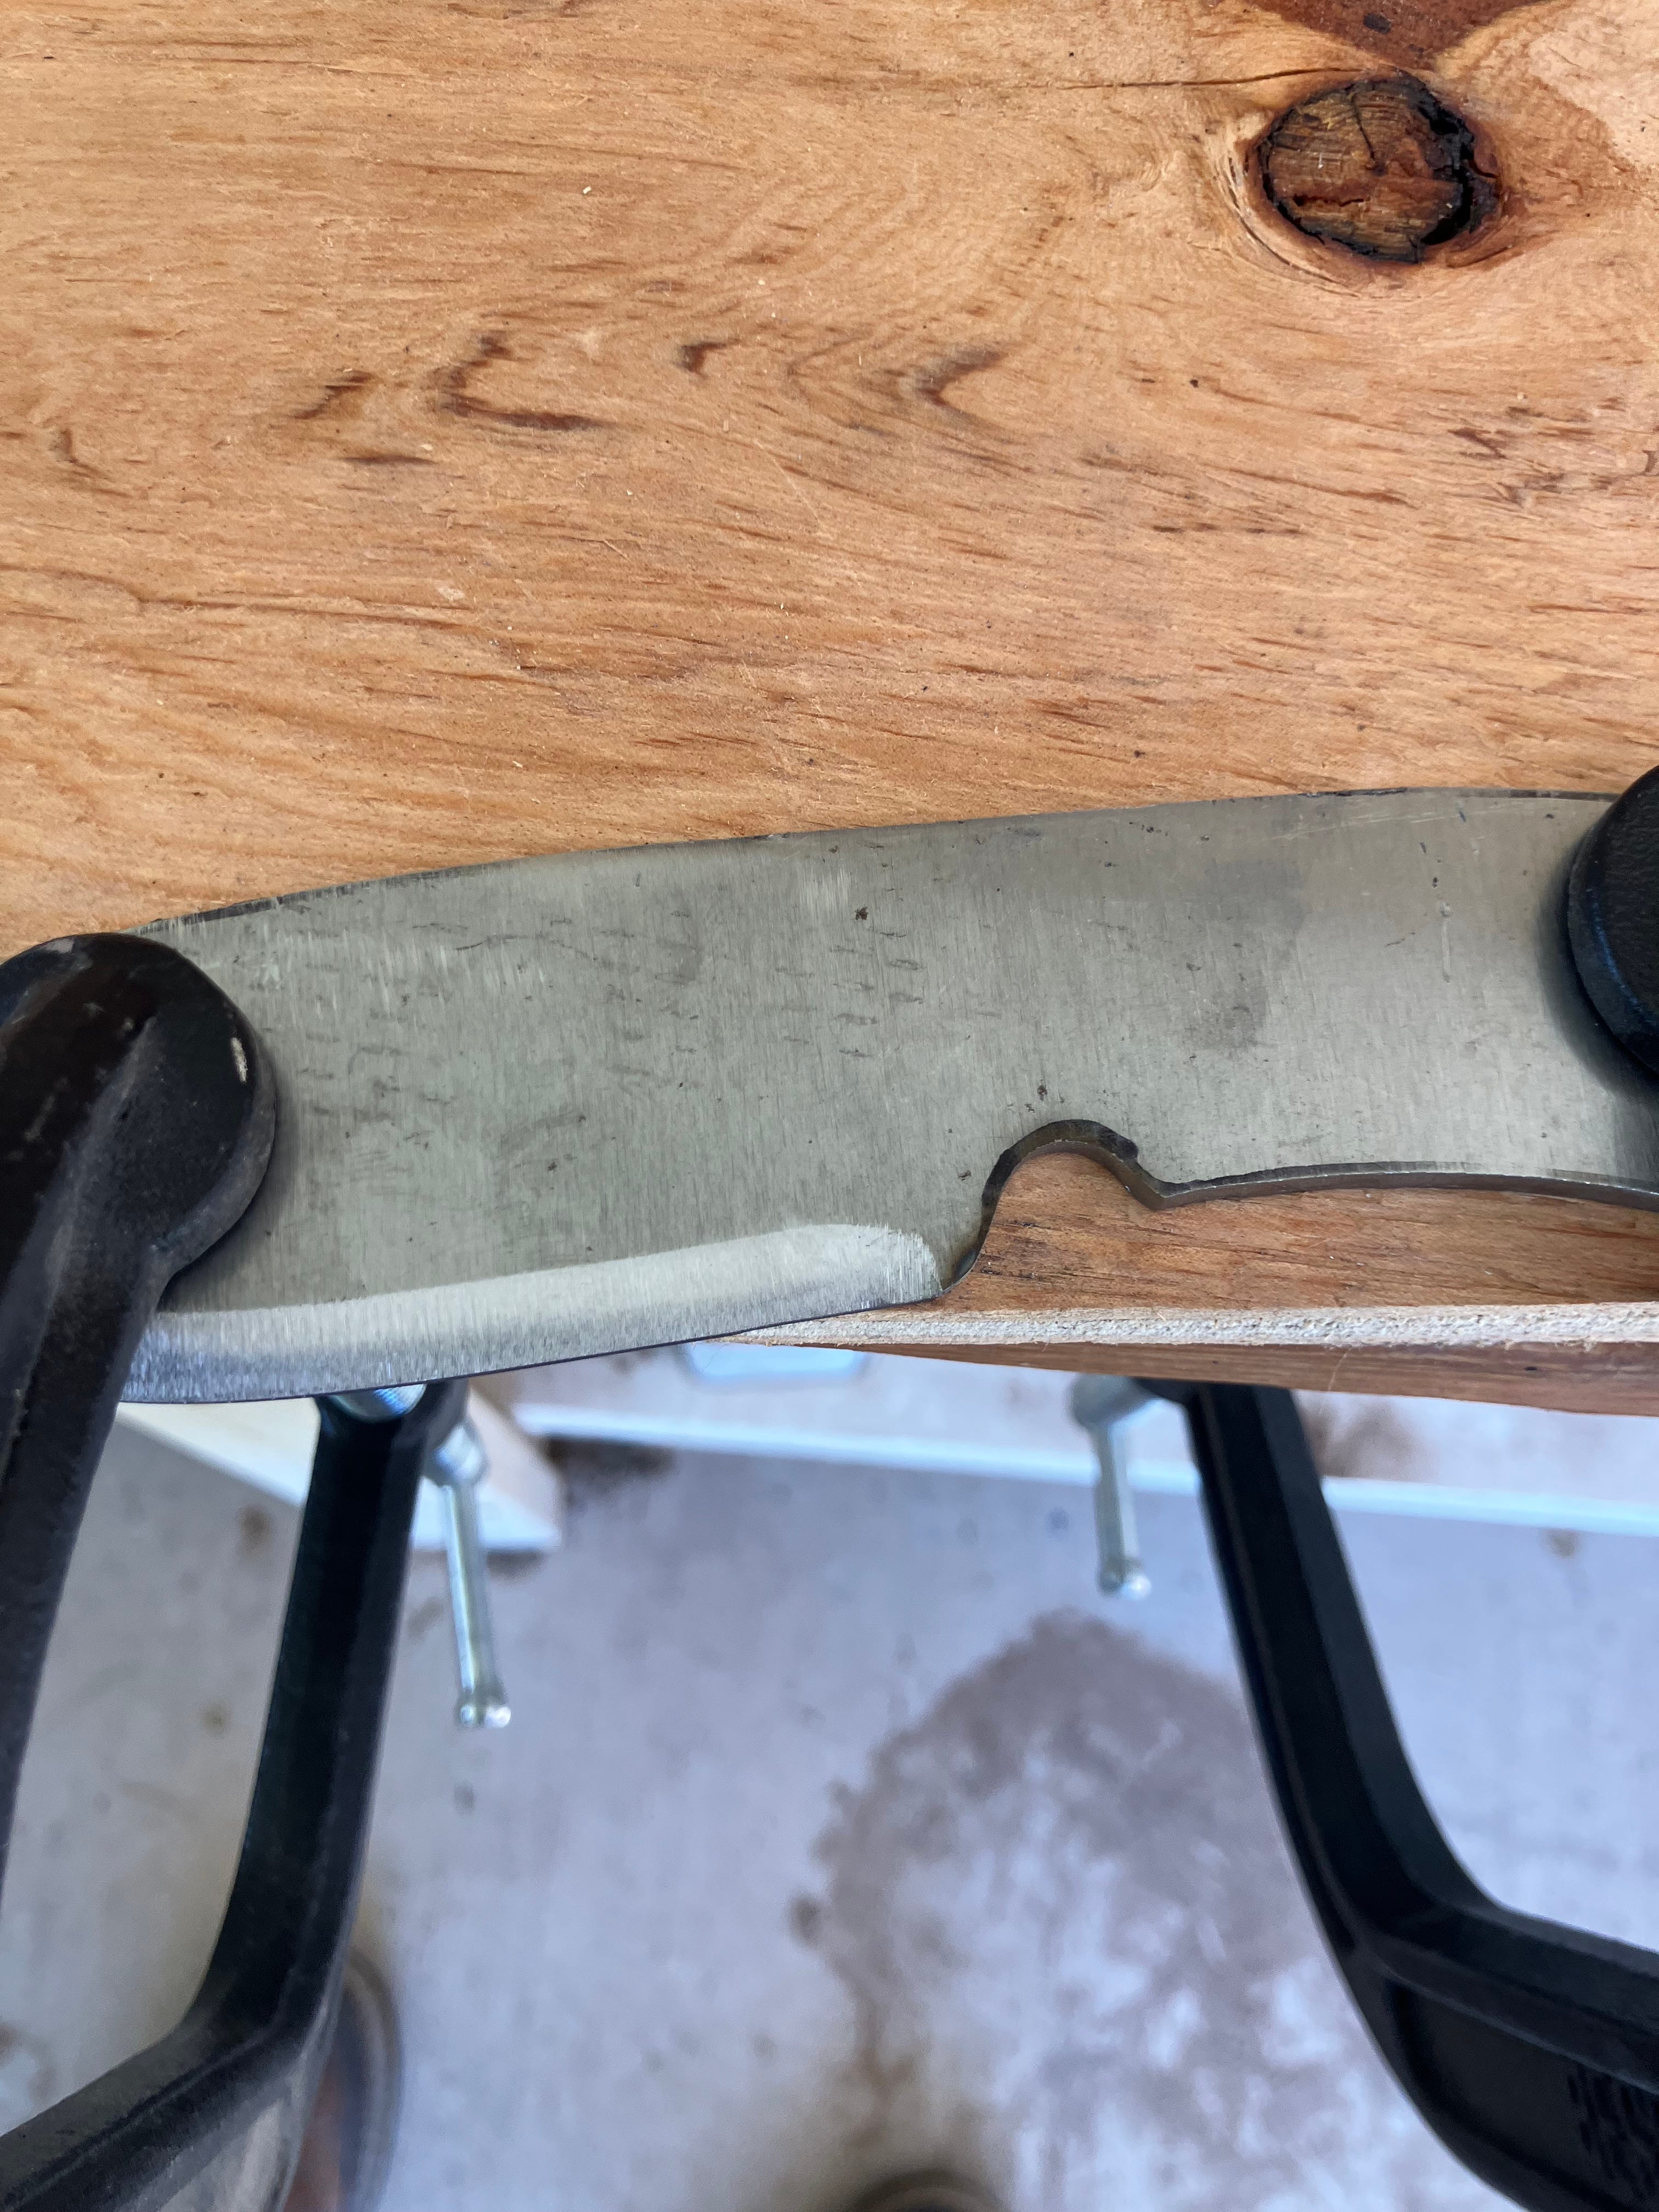
Once the edge is to the thickness I want and is more or less symmetrical, I start grinding back towards the top.

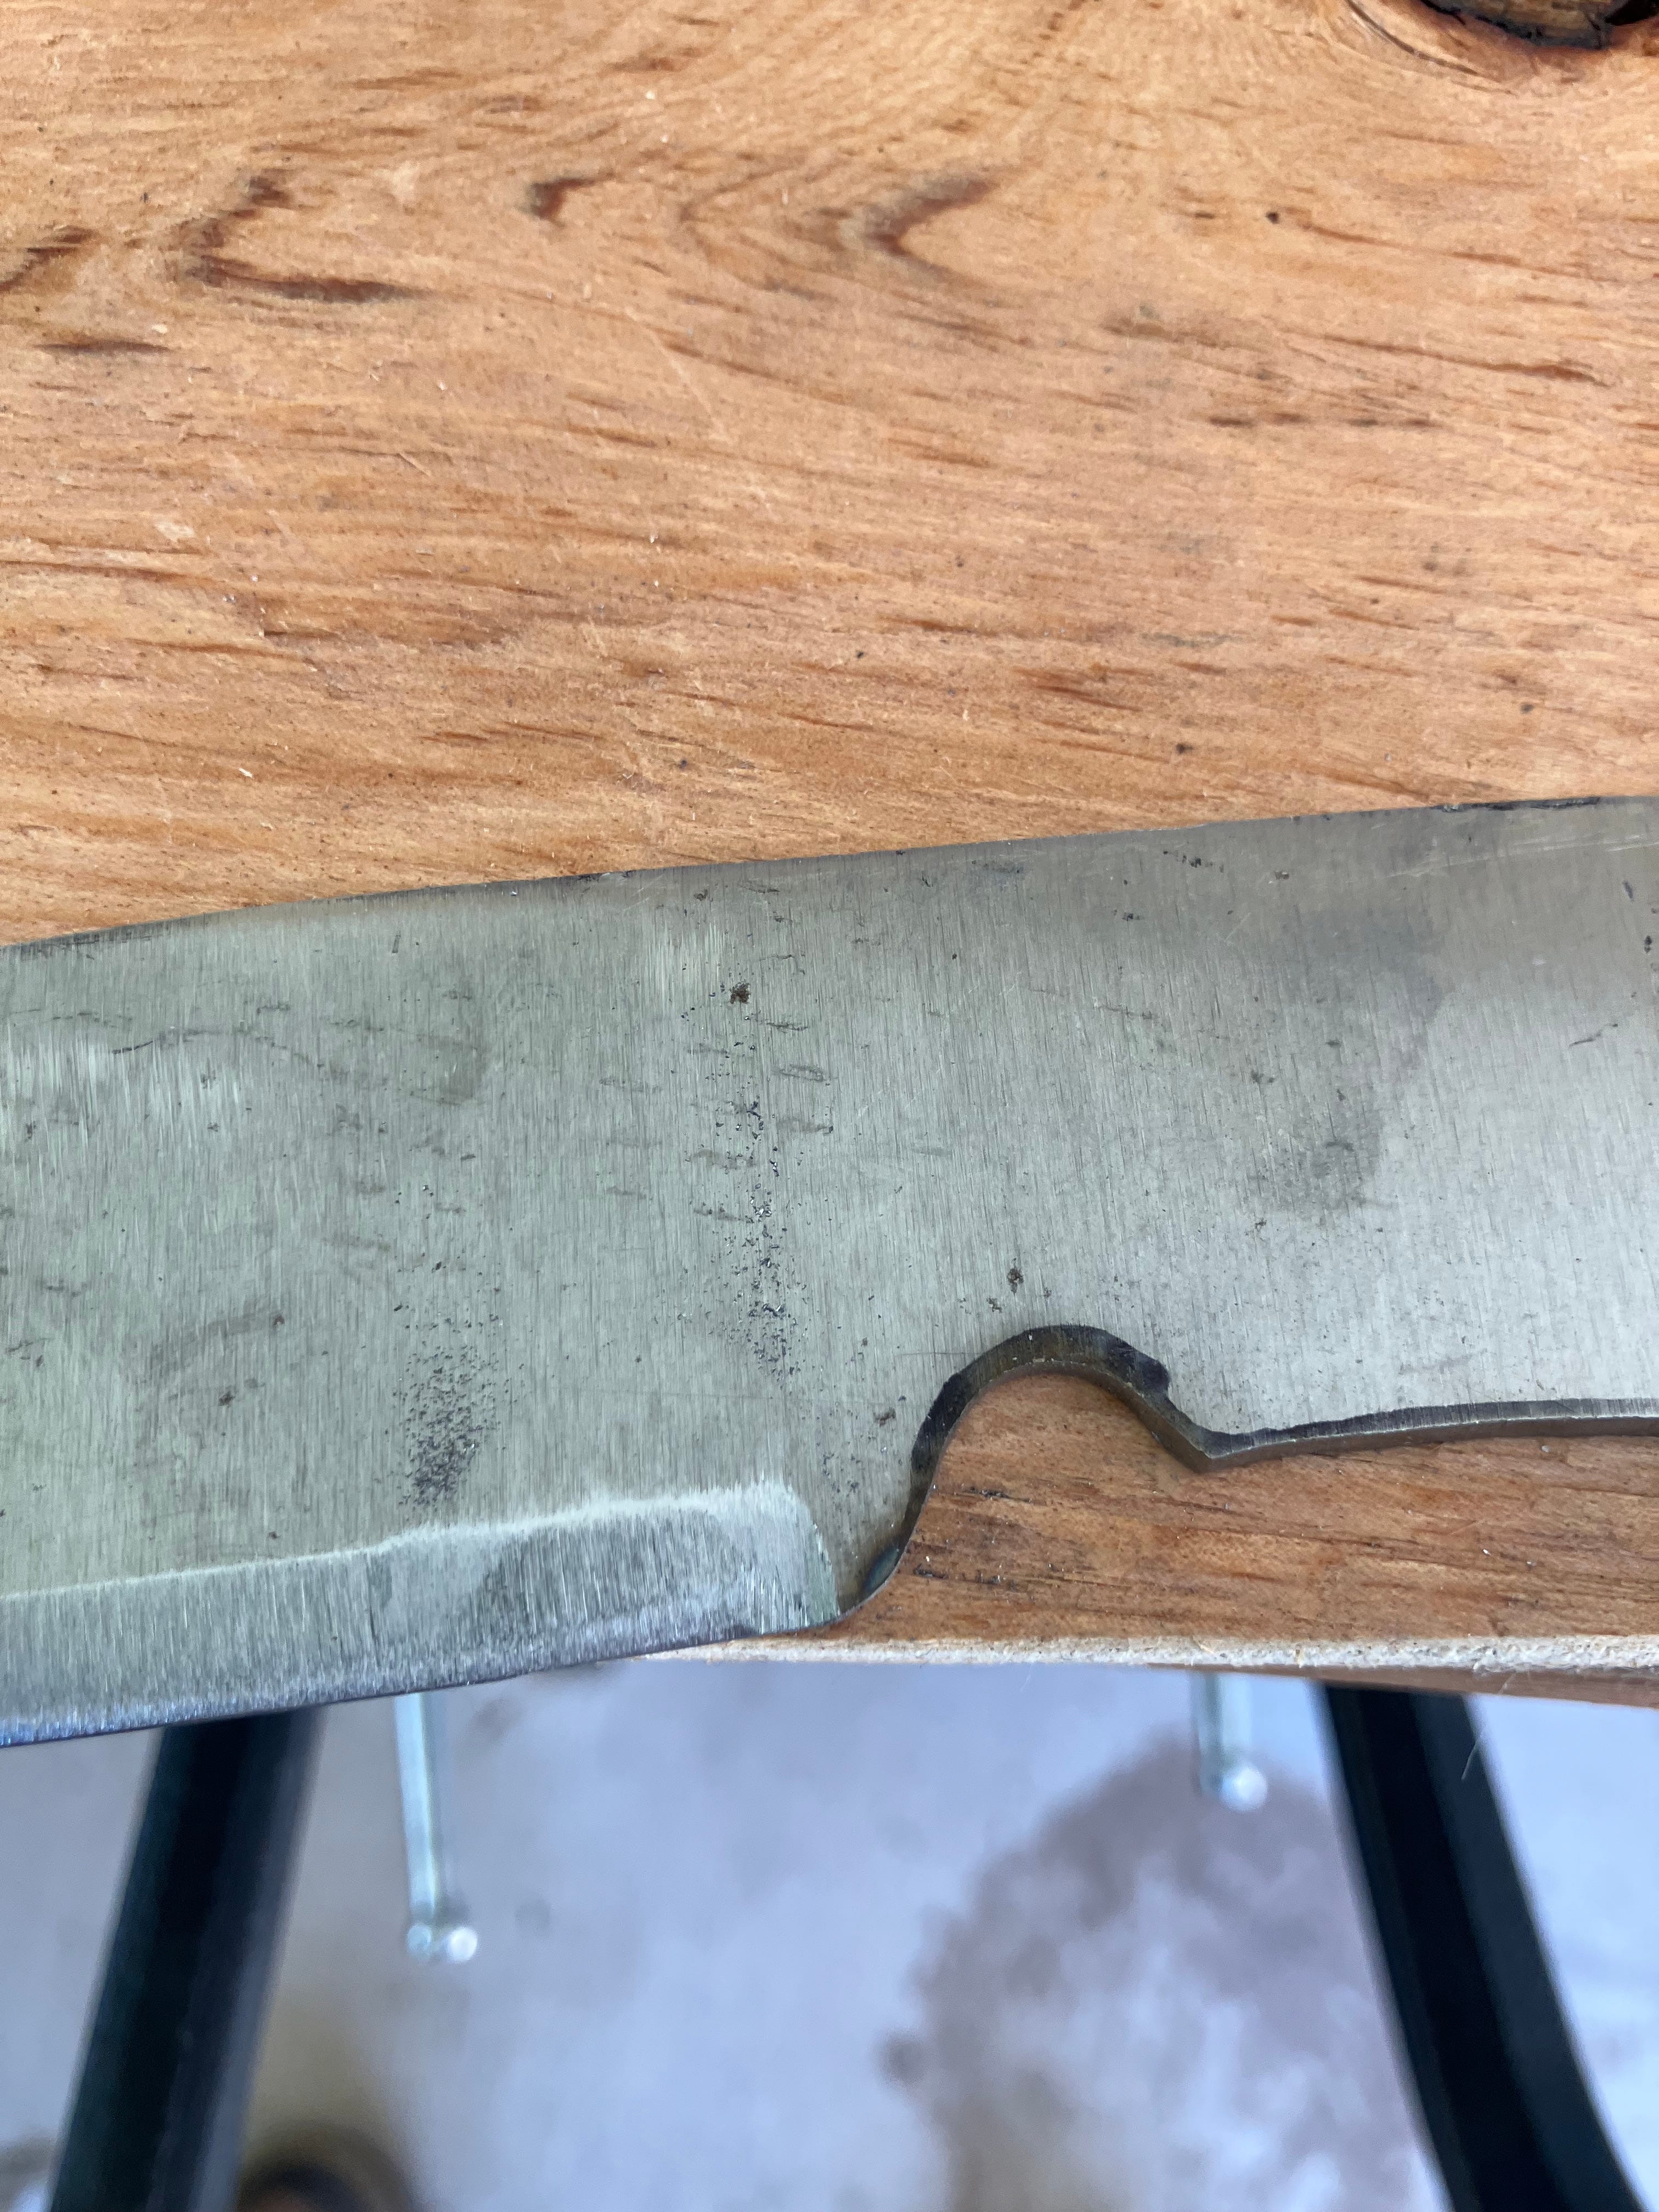
That’s it! The last little bit is to square up the bit of edge before the finger groove; for that I’ll use my good old mill bastard files.

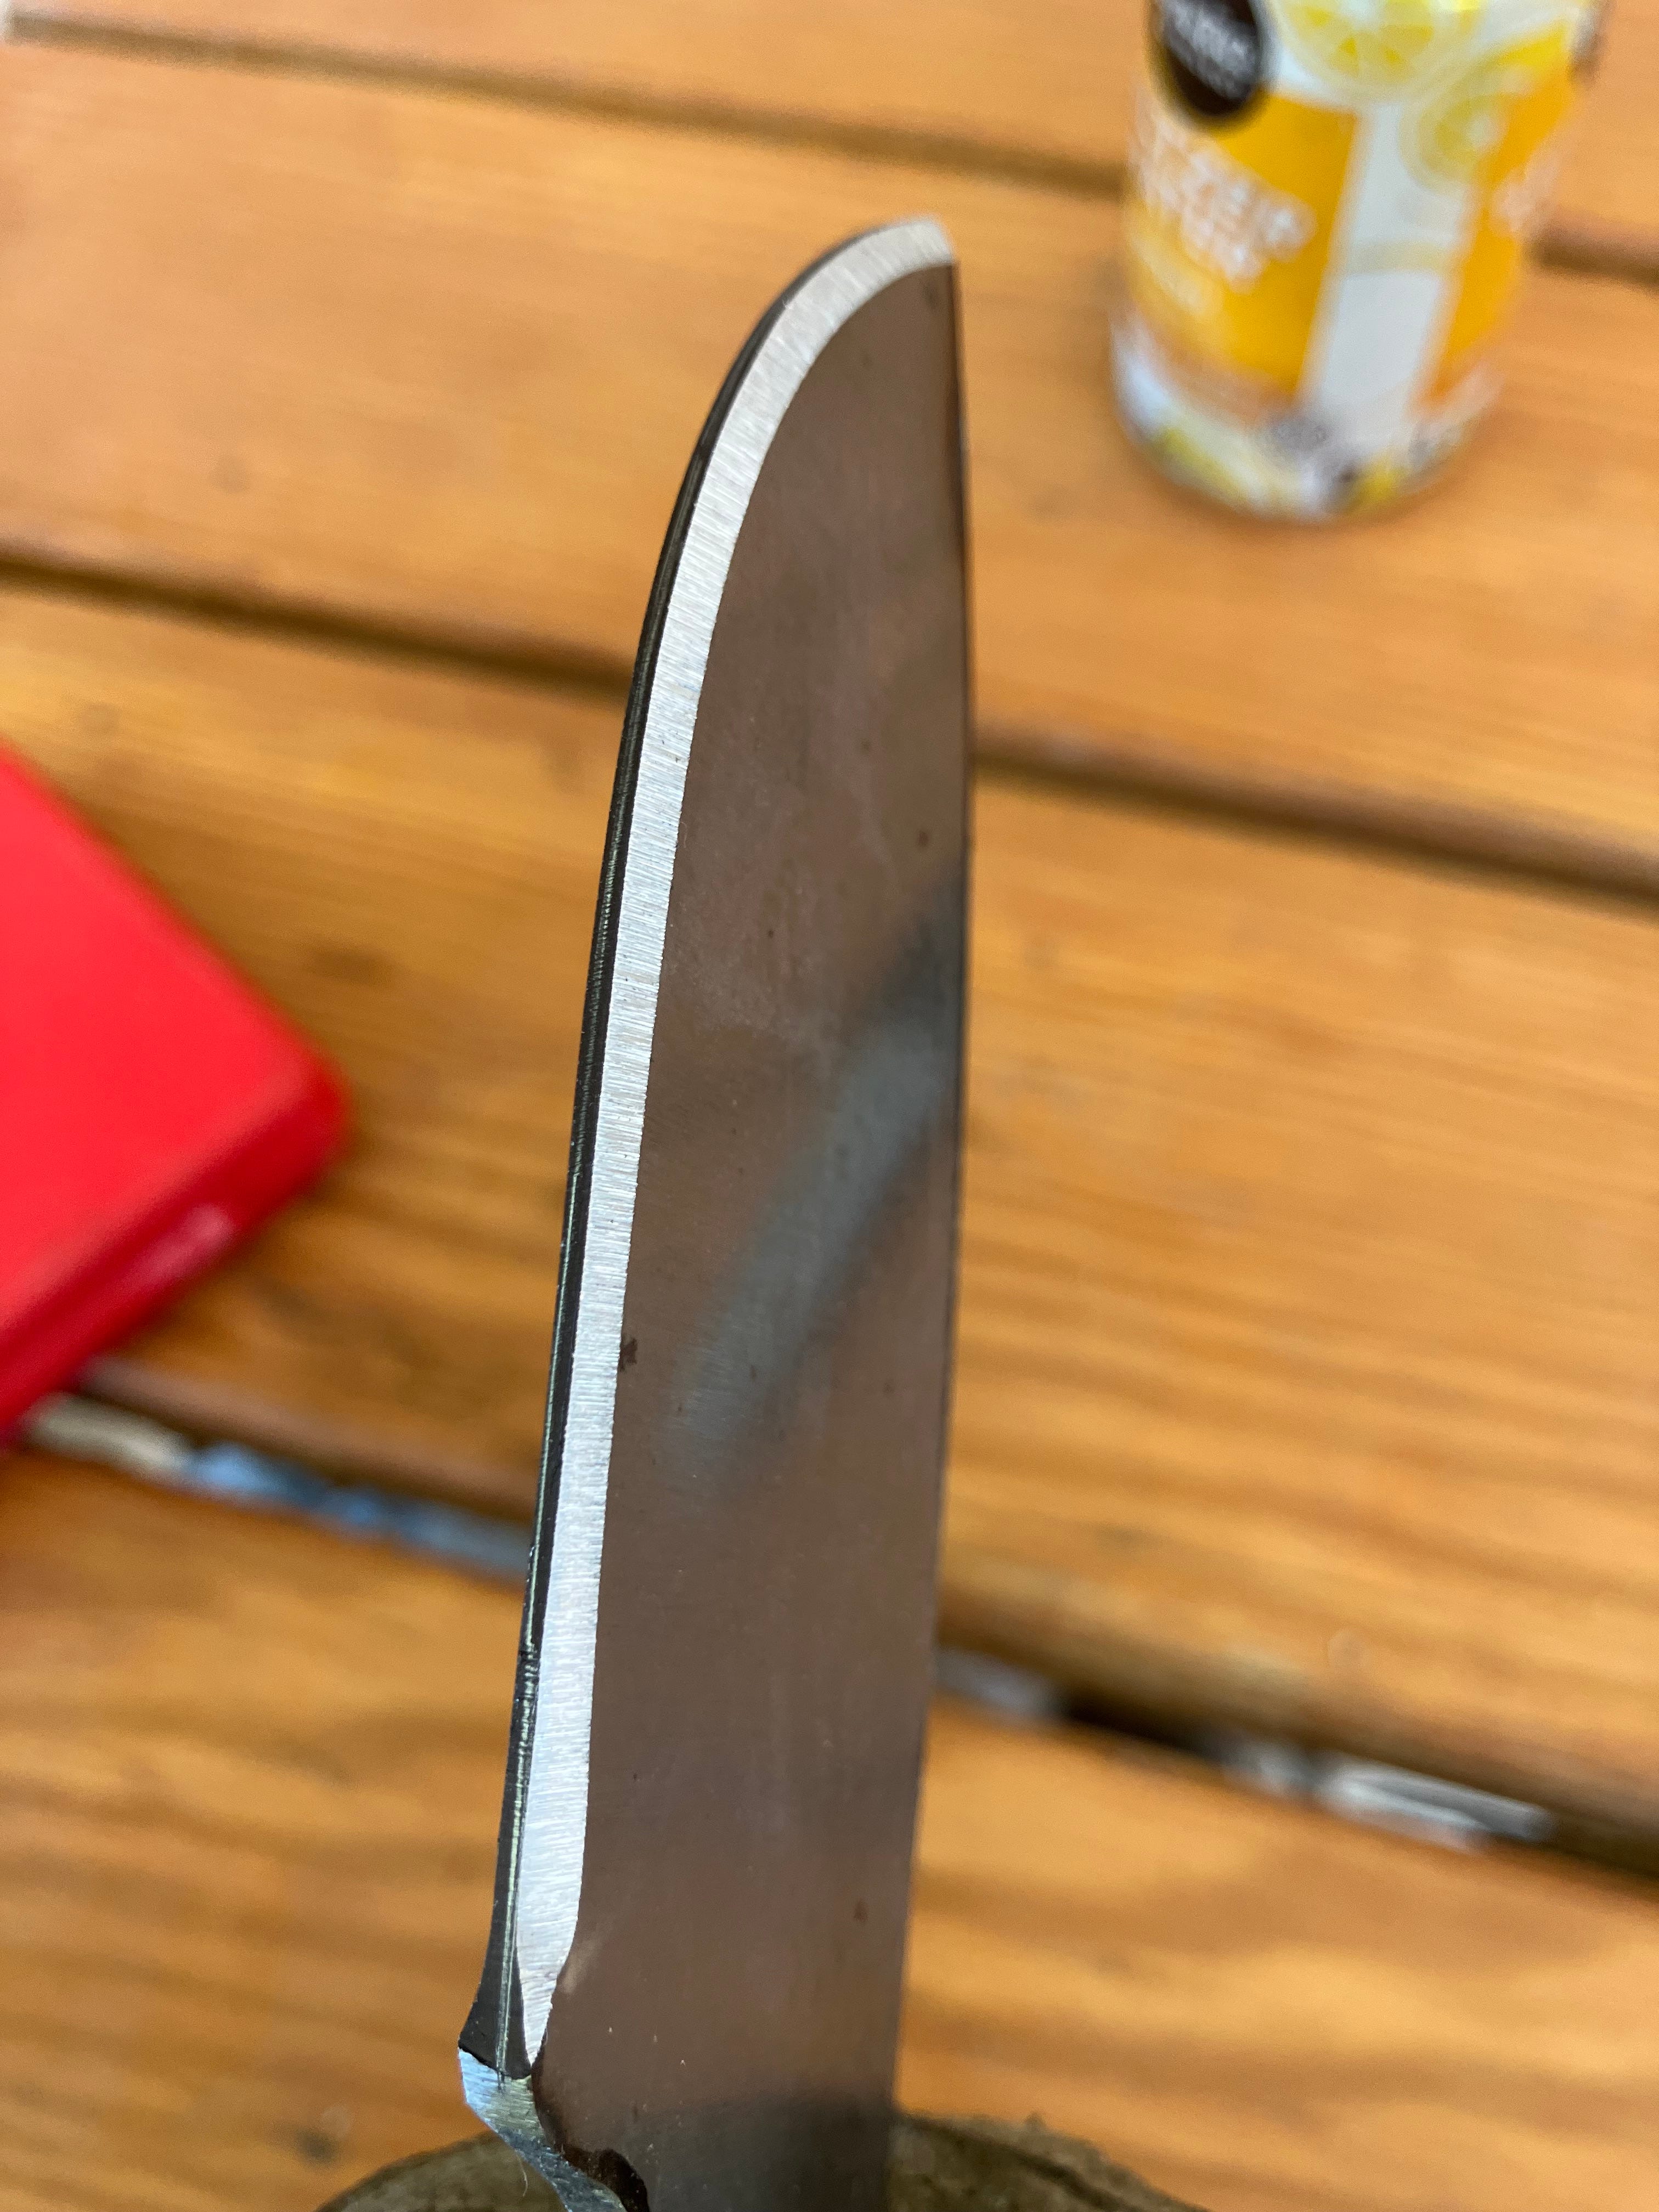
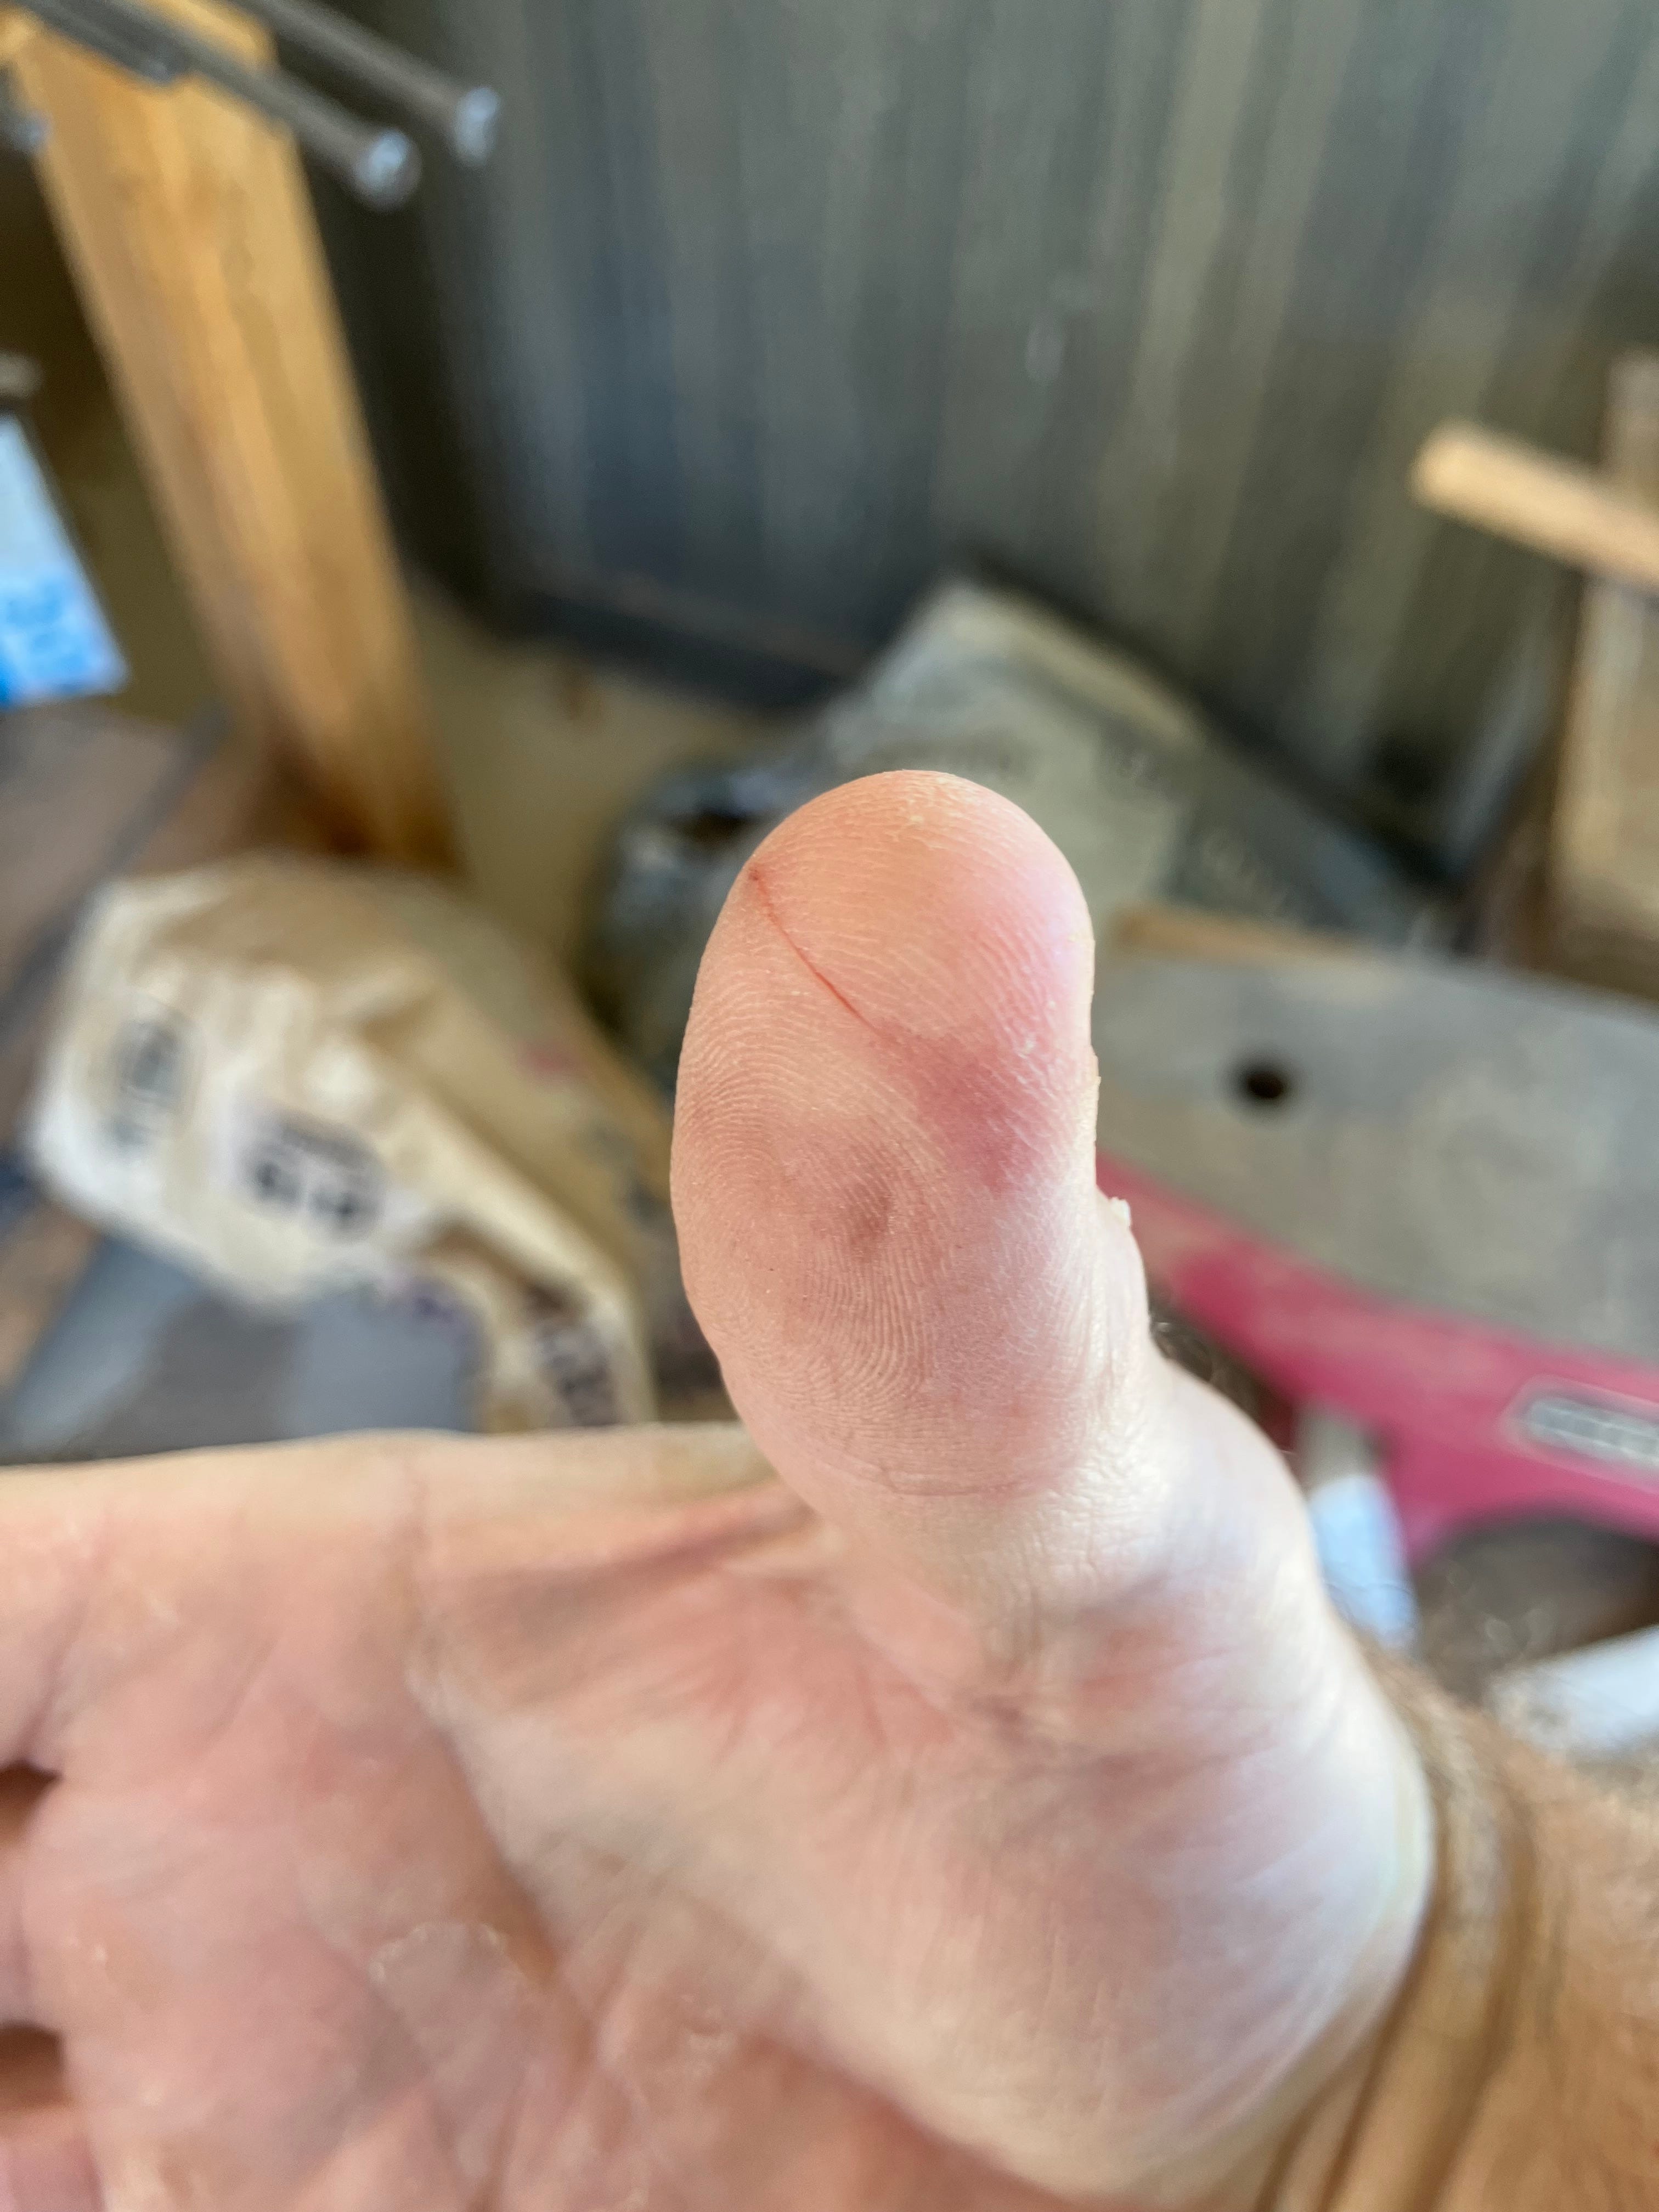
With the bevel in, it’s time for a little polishing to take off the scratches from the coarse grinding. I’ll switch to a 300 grit belt for that, and polish the bevel a bit as well as take off any remaining burrs and sharp edges (like the one that sliced my thumb, an unavoidable hazard of doing this it seems…):
That’s it for this installment; next up we’ll finish off the blade and harden and temper it!
I did not realize you were using all handwork here. It makes the result you get, even more amazing.
Ouch!