


Making a knife from flat stock
Part 3: Finishing the blade and heat treating

Last time I showed you how I grind the bevel. Now we’ll finish the blade by drilling the pin holes in the handle and heat treat the blade. It’s important to drill the holes before heat treating the blade; a hardened tang is much harder to drill through!
The first thing to do is to mark the tang for where the holes will be:
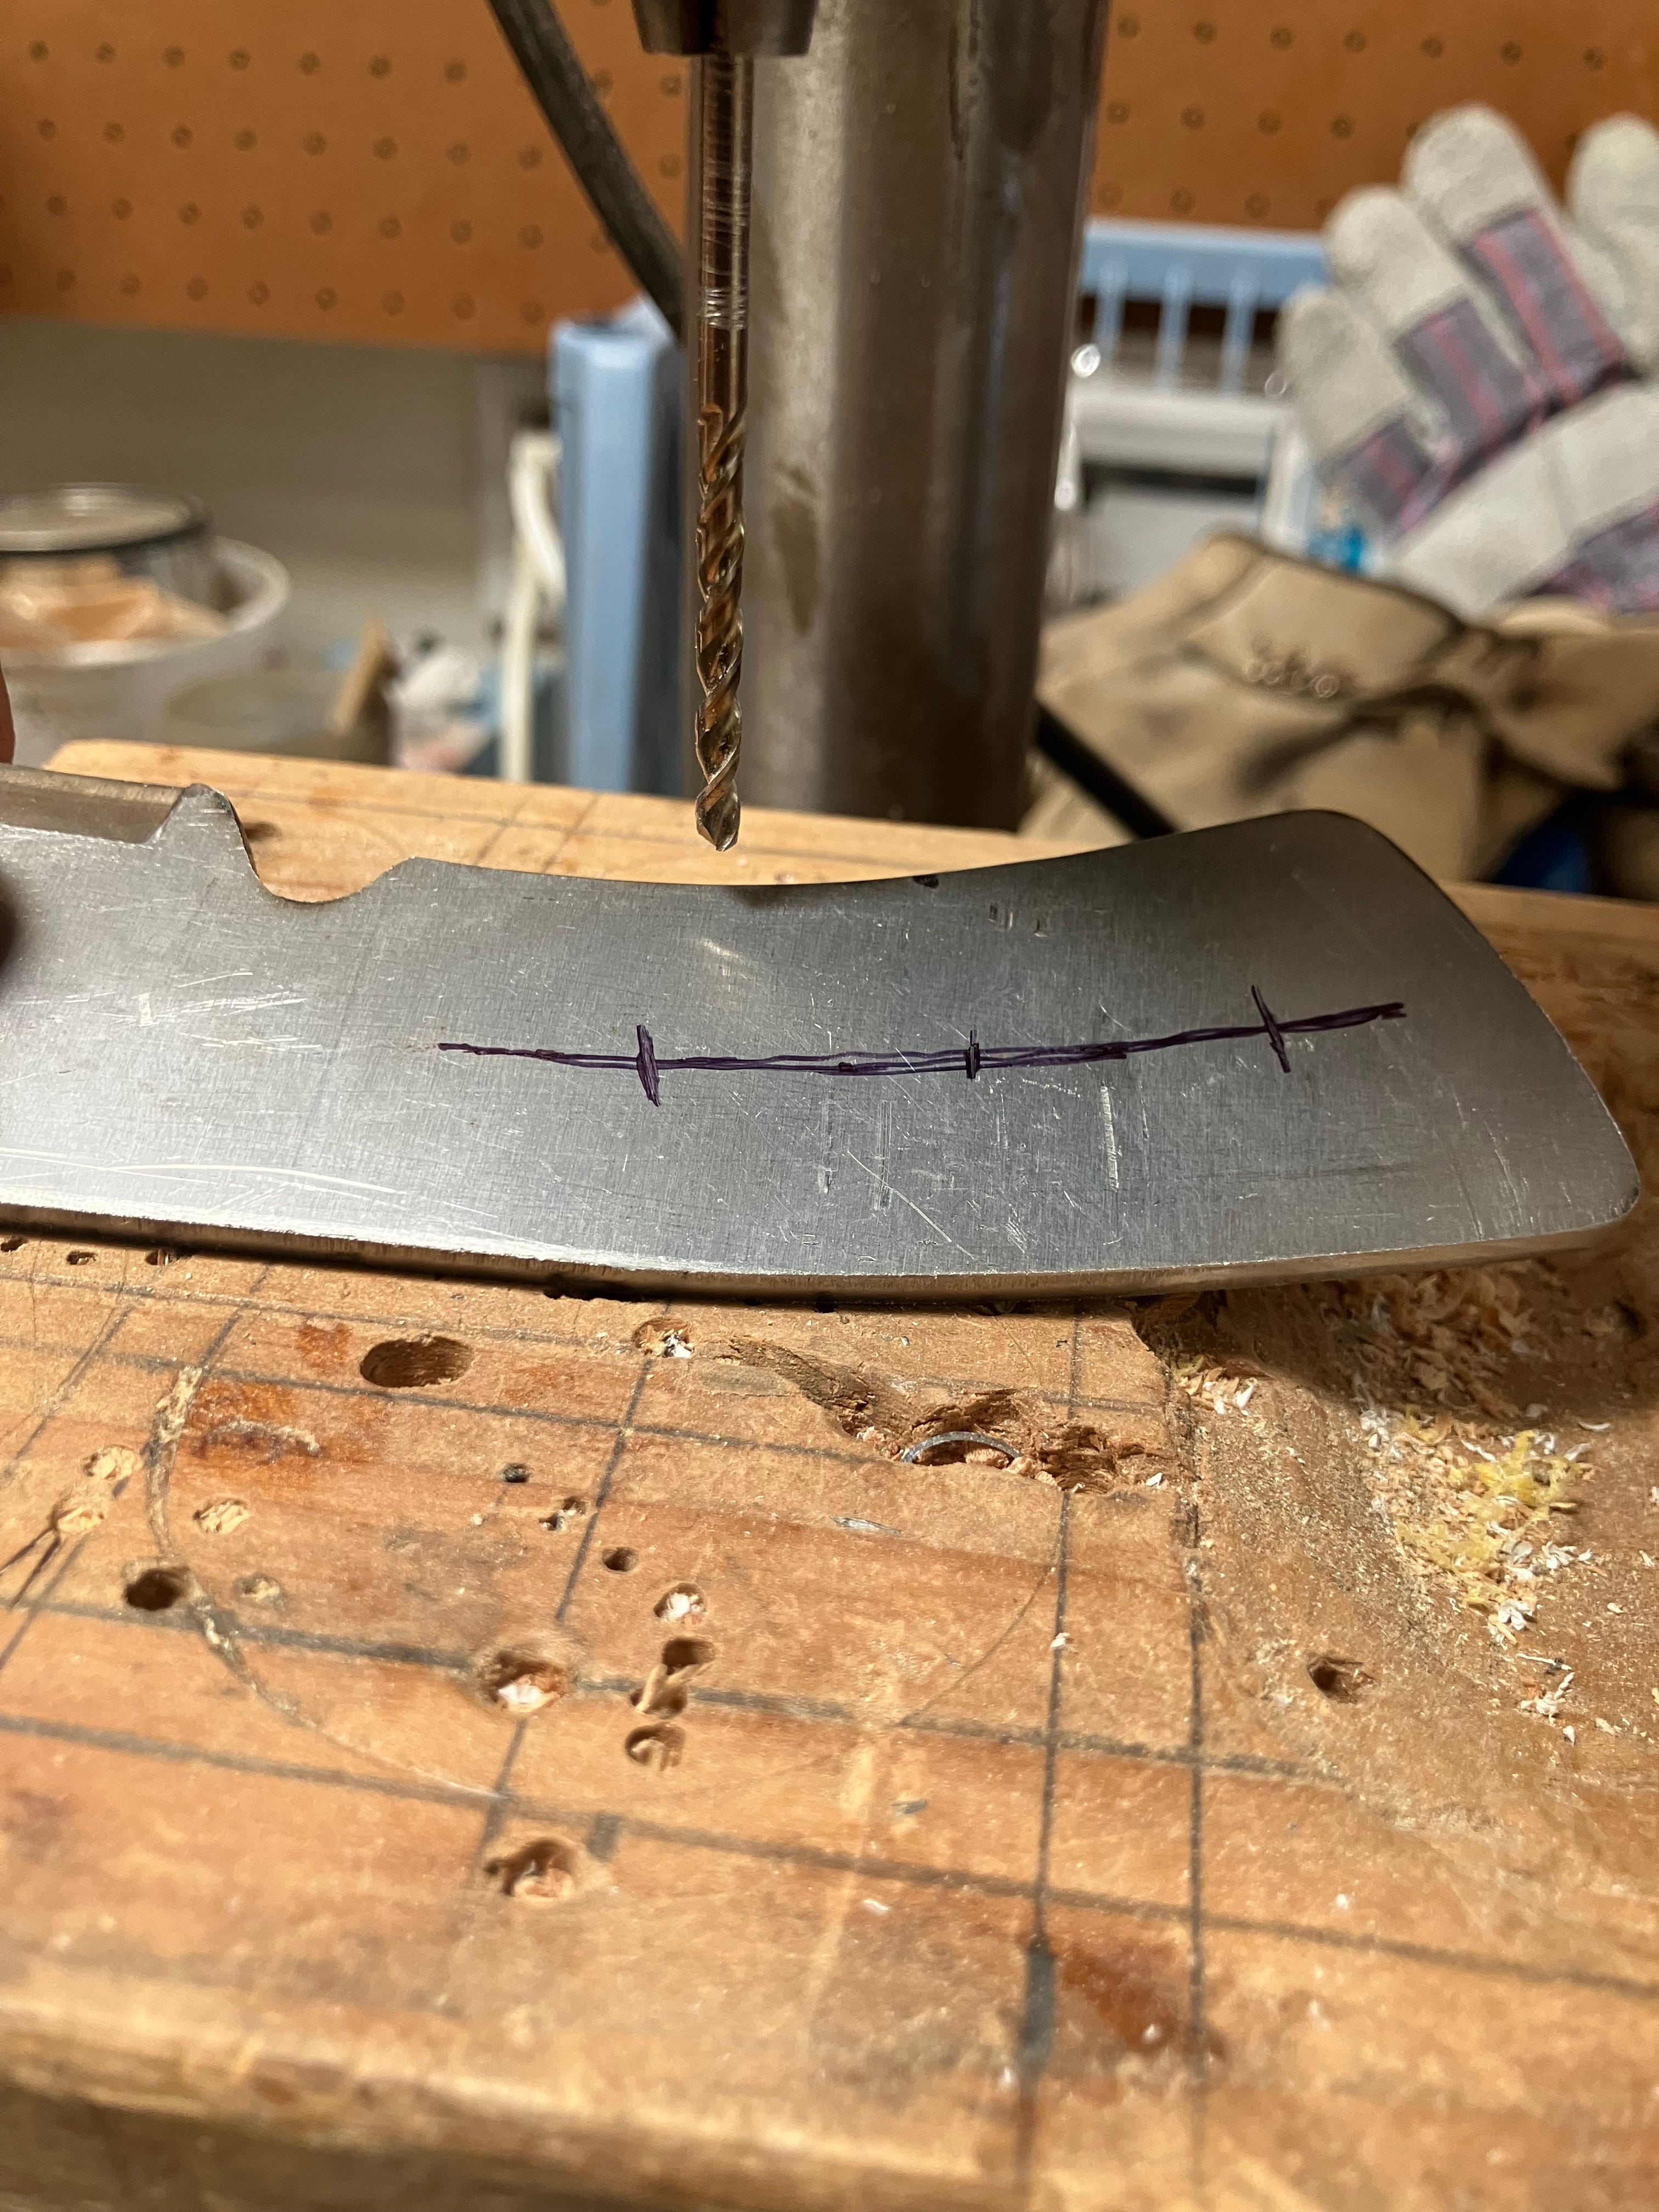
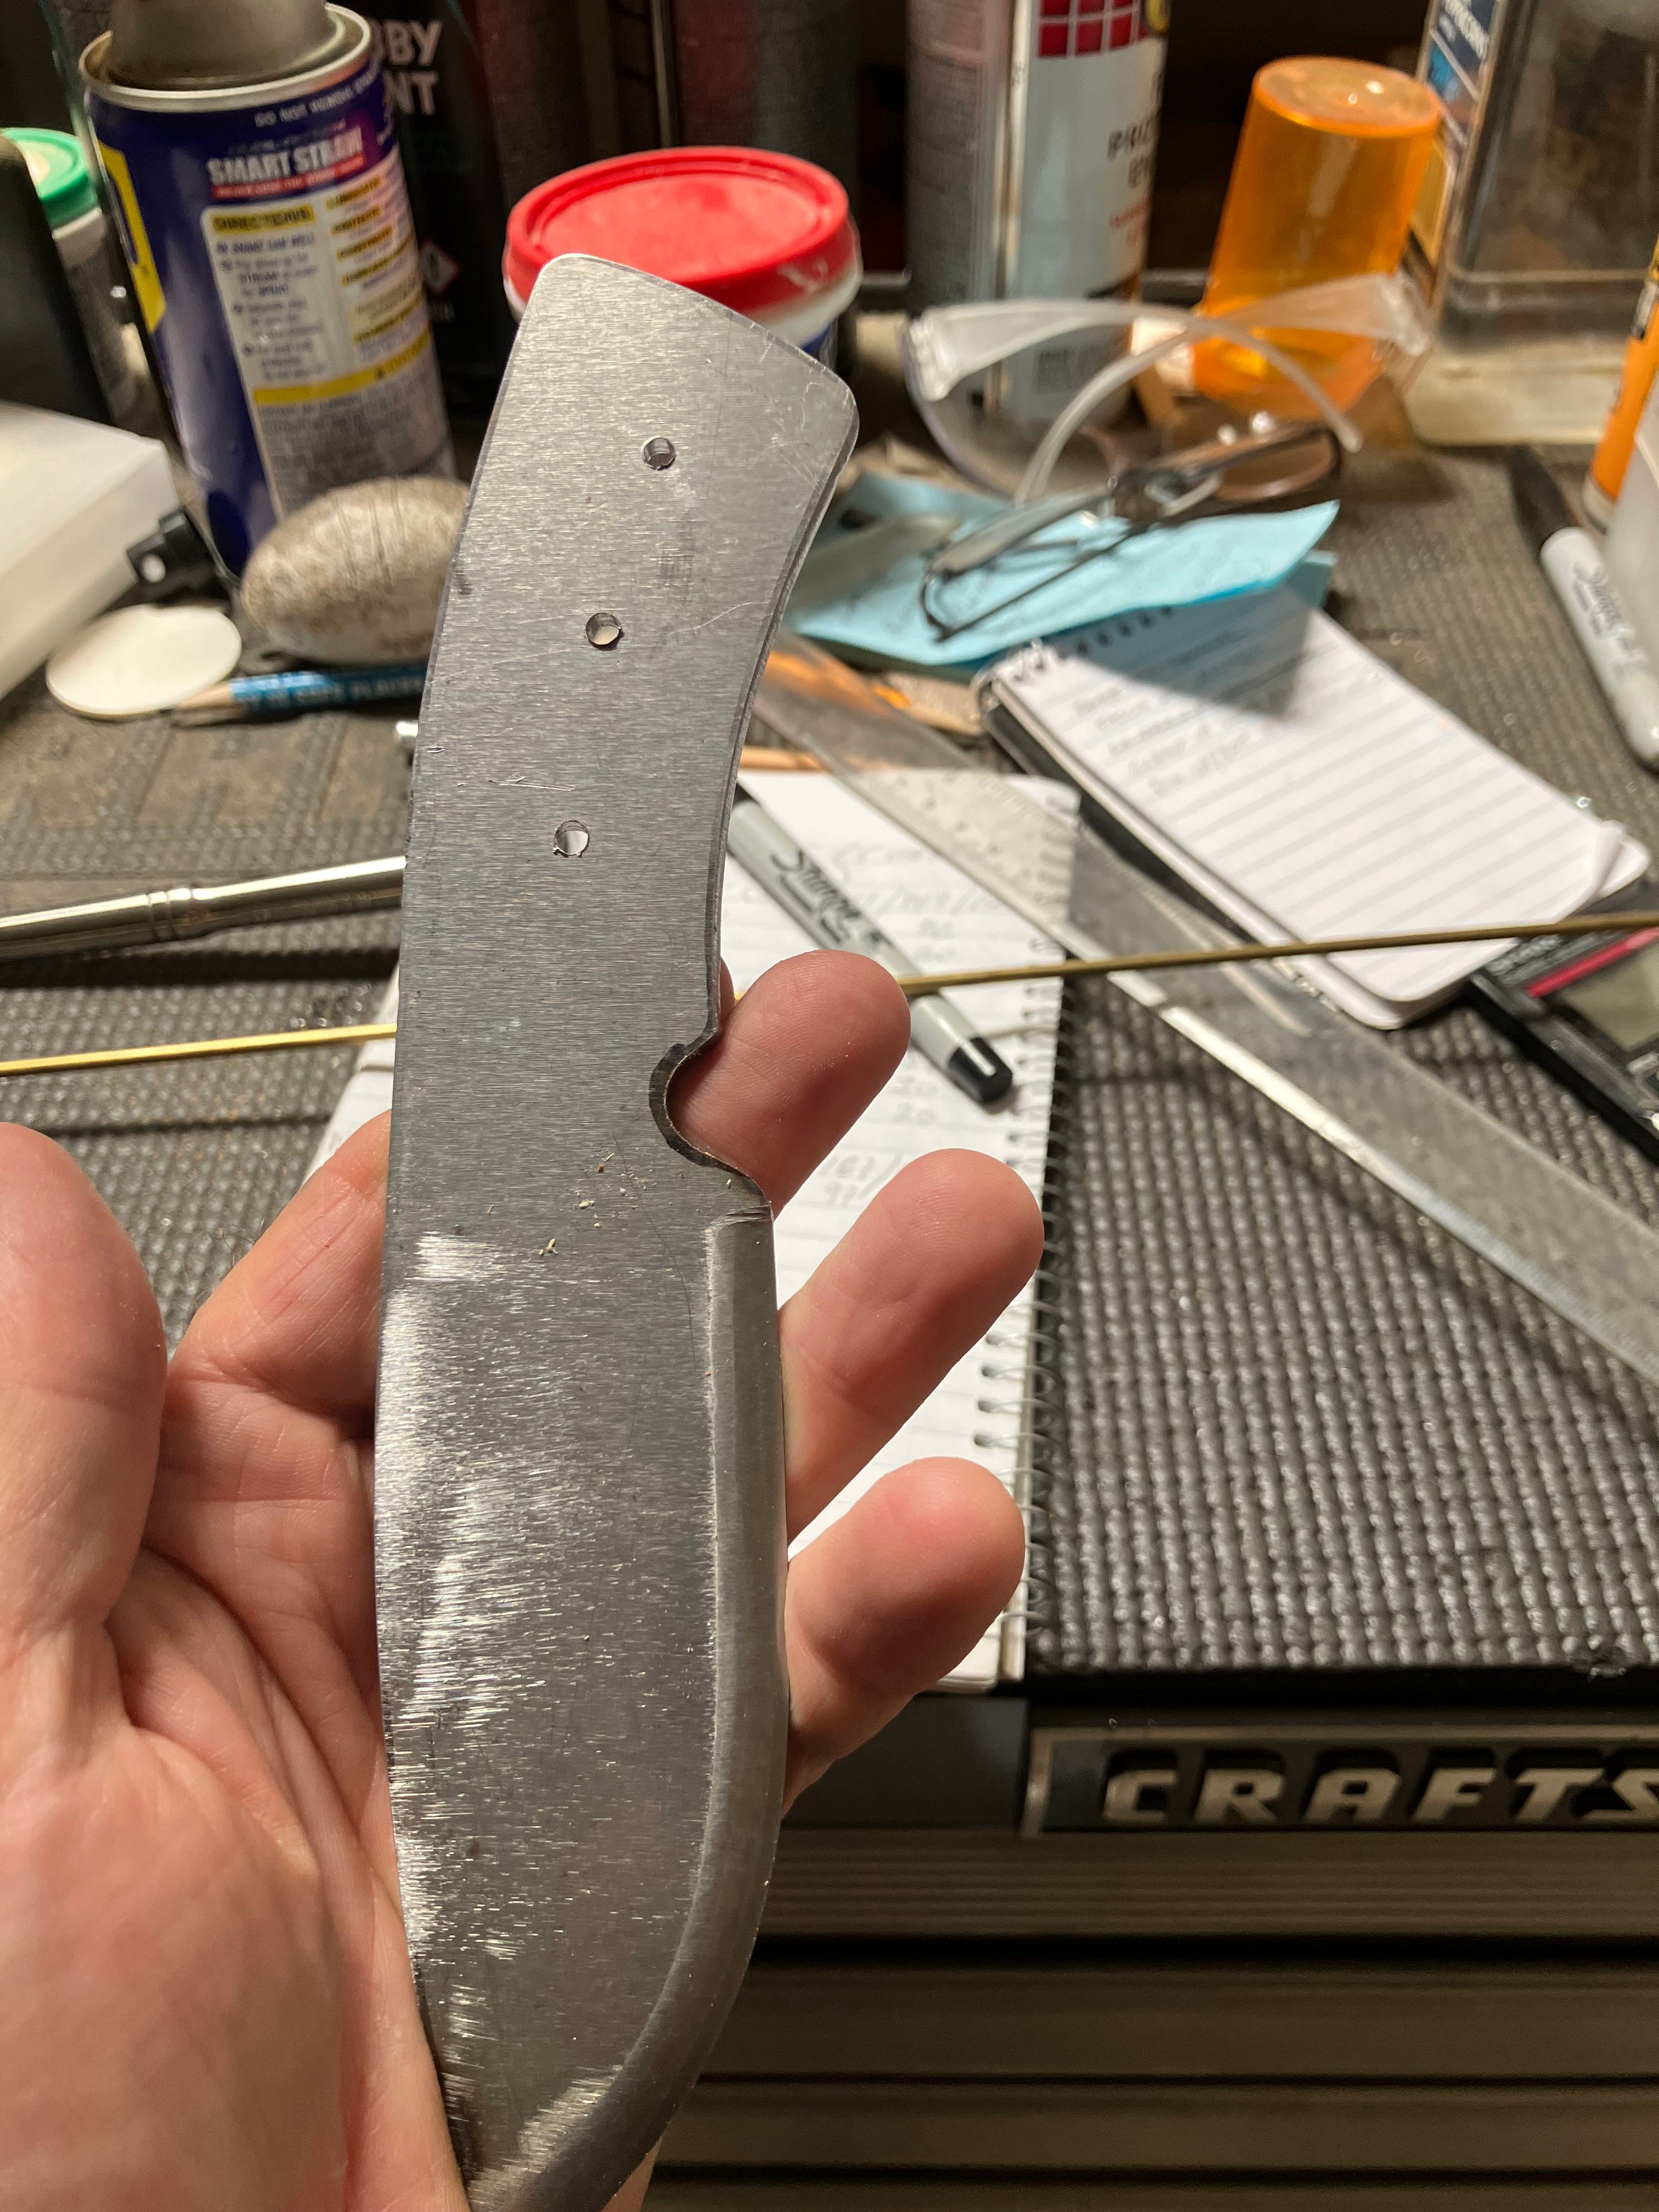
Once they are marked, I drill the holes on my drill press. If you don’t have a drill press, a regular hand drill will work. These holes are 1/8 inch since I will be using 1/8 brass mosaic pins for the handle. You might notice that I drilled three holes but the blank I used calls for two. The center hole will not have a pin; it is for the epoxy to form an “epoxy pin” through the tang to the handle scales. I’ve found these extra holes really help bind the handle scales to the tang.
Now we can heat treat the blade; let’s go to the forge!
A little about heat treating. There are two steps involved here; hardening and tempering. Hardening is the most important. I’m not an expert on it and if you’re interested in making knives I encourage you to do your own research. But for what it’s worth, here’s what I know.
Only high carbon (that is, a carbon content of 0.6% or higher) steels or certain alloy steels will harden. In this case we’re using a 1075 steel, which is 0.75% carbon, so it’s a good carbon steel for a knife. Hardening steel involves bringing the steel up to what’s known as the crtical temperature. At the critical temperature, the steel loses its magnetic properties (i.e. it won’t stick to a magnet anymore) because it’s formed a crystalline structure (known as Austenite) that can absorb more carbon in the interspaces between iron crystals. It’s this absorption of carbon that will make the steel hard. In order to maintain this structure after cooling, the hot steel must be cooled very rapidly to lock the carbon in place between the iron molecules. This rapid cooling is achieved through “quenching” the hot steel in water or oil (depending on the carbon content). This forms a hard layer of what’s known as Martensite, making the steel both hard and brittle.
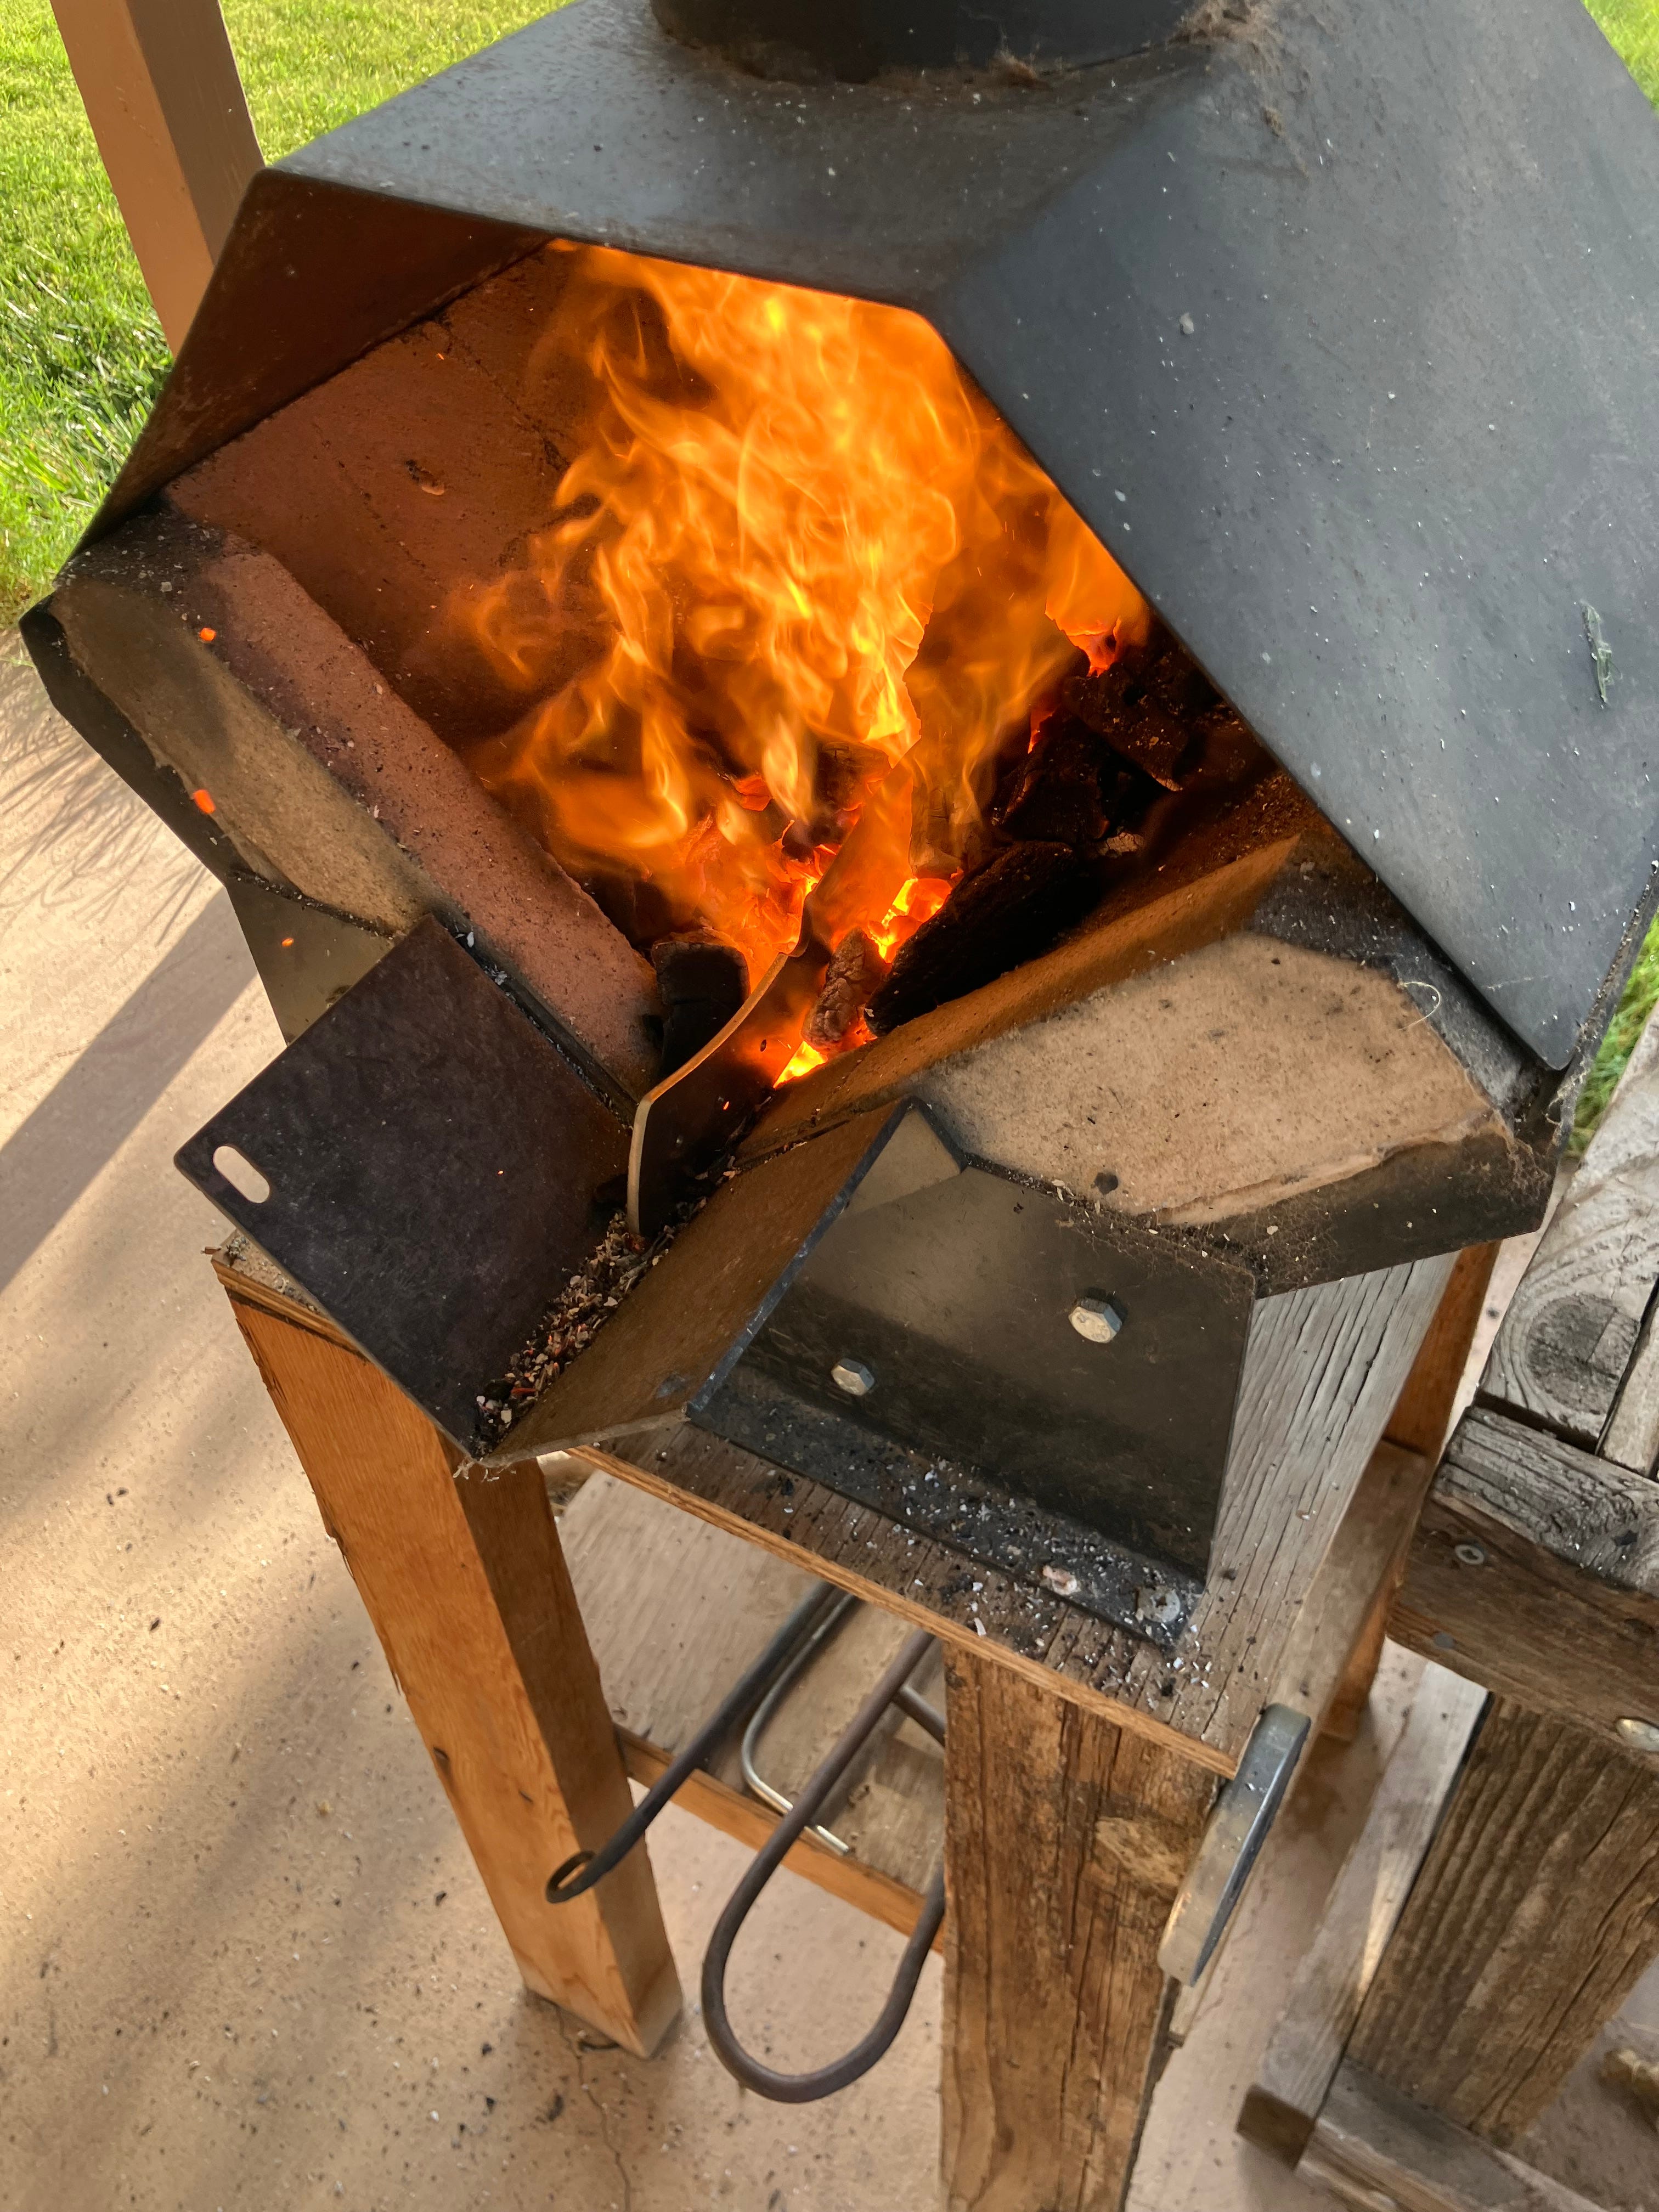
So here are the key things needed to harden a knife blade. First, obviously, is a forge or some other method of heating the steel to crtical (around 1500 degrees Fahrenheit). I have a Whitlock wood forge for this:
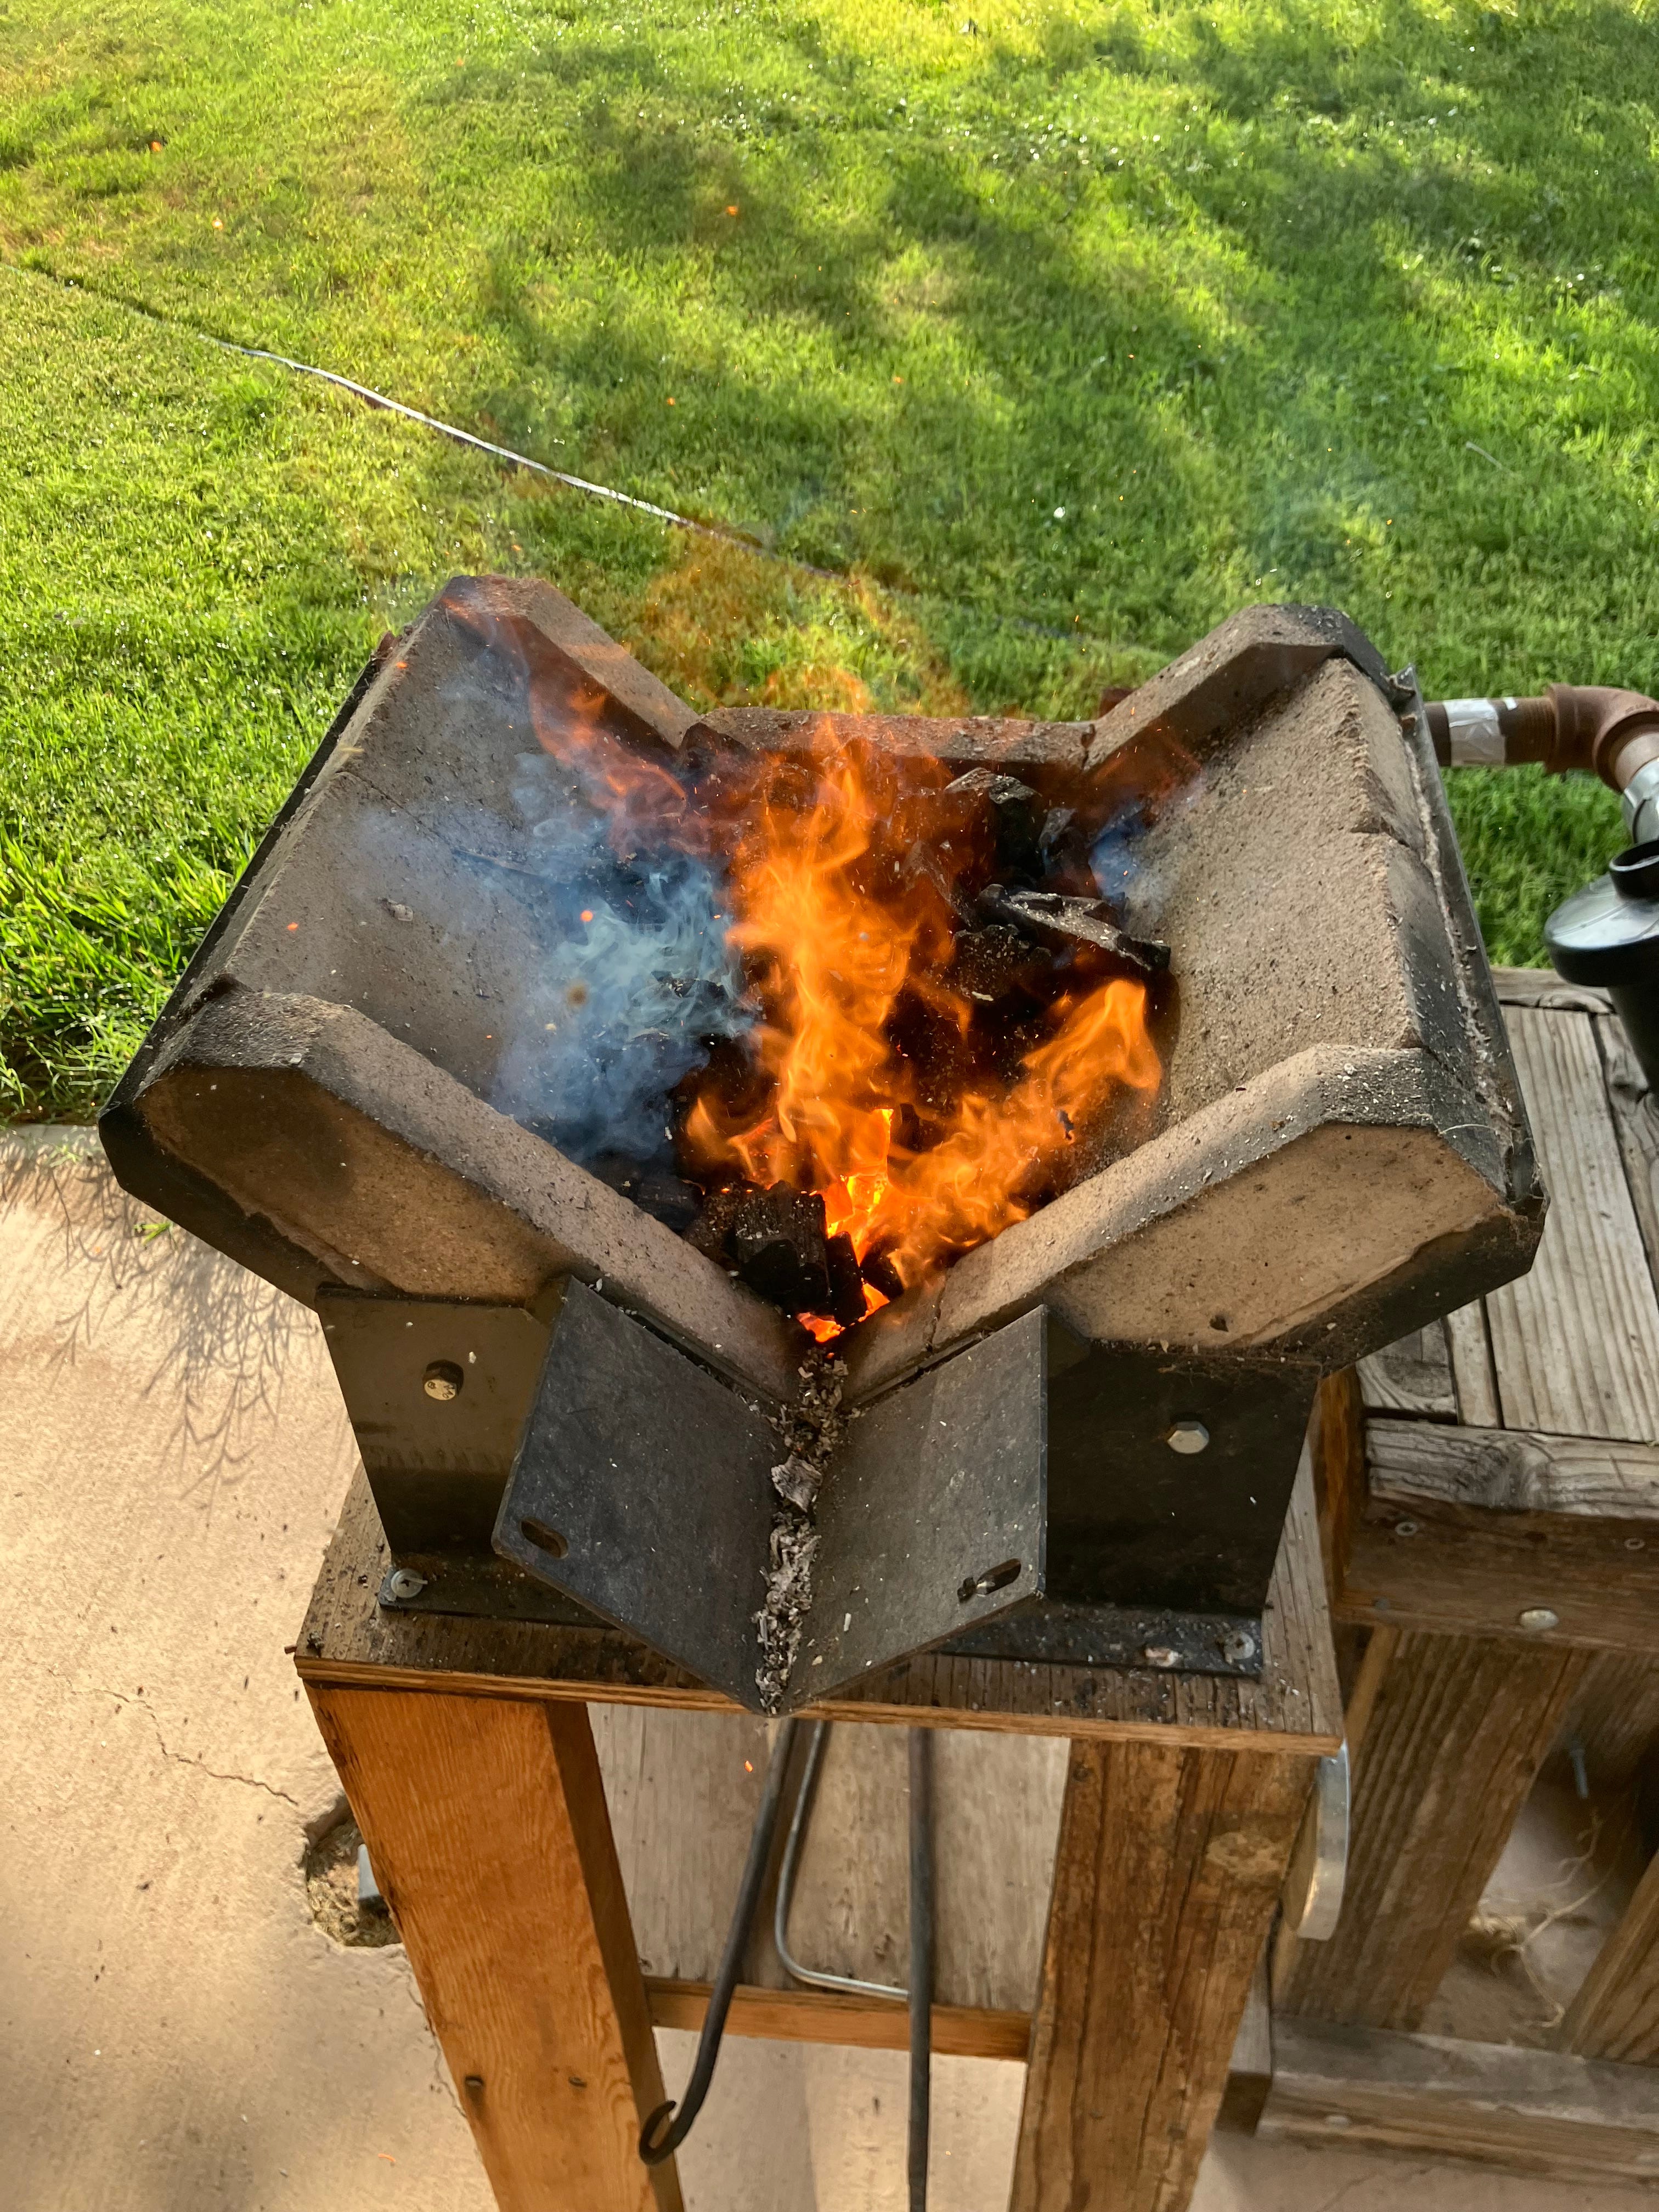
You don’t have to have a forge; I’ve seen Youtube videos of guys who just dug a fire pit in the ground, or used a propane torch. The key component is to make sure your fire is largely composed of charcoal (not the briquettes you buy, but the coals from burned down chunks of wood) as this fuel will get hot enough to get the steel to critical temperature. After a place for your fire, and the appropriate fuel, you’ll need an air source as a continuous supply of oxygen is what allows your fire to get hot enough. I use an air mattress blower; a lot of guys use hair driers.
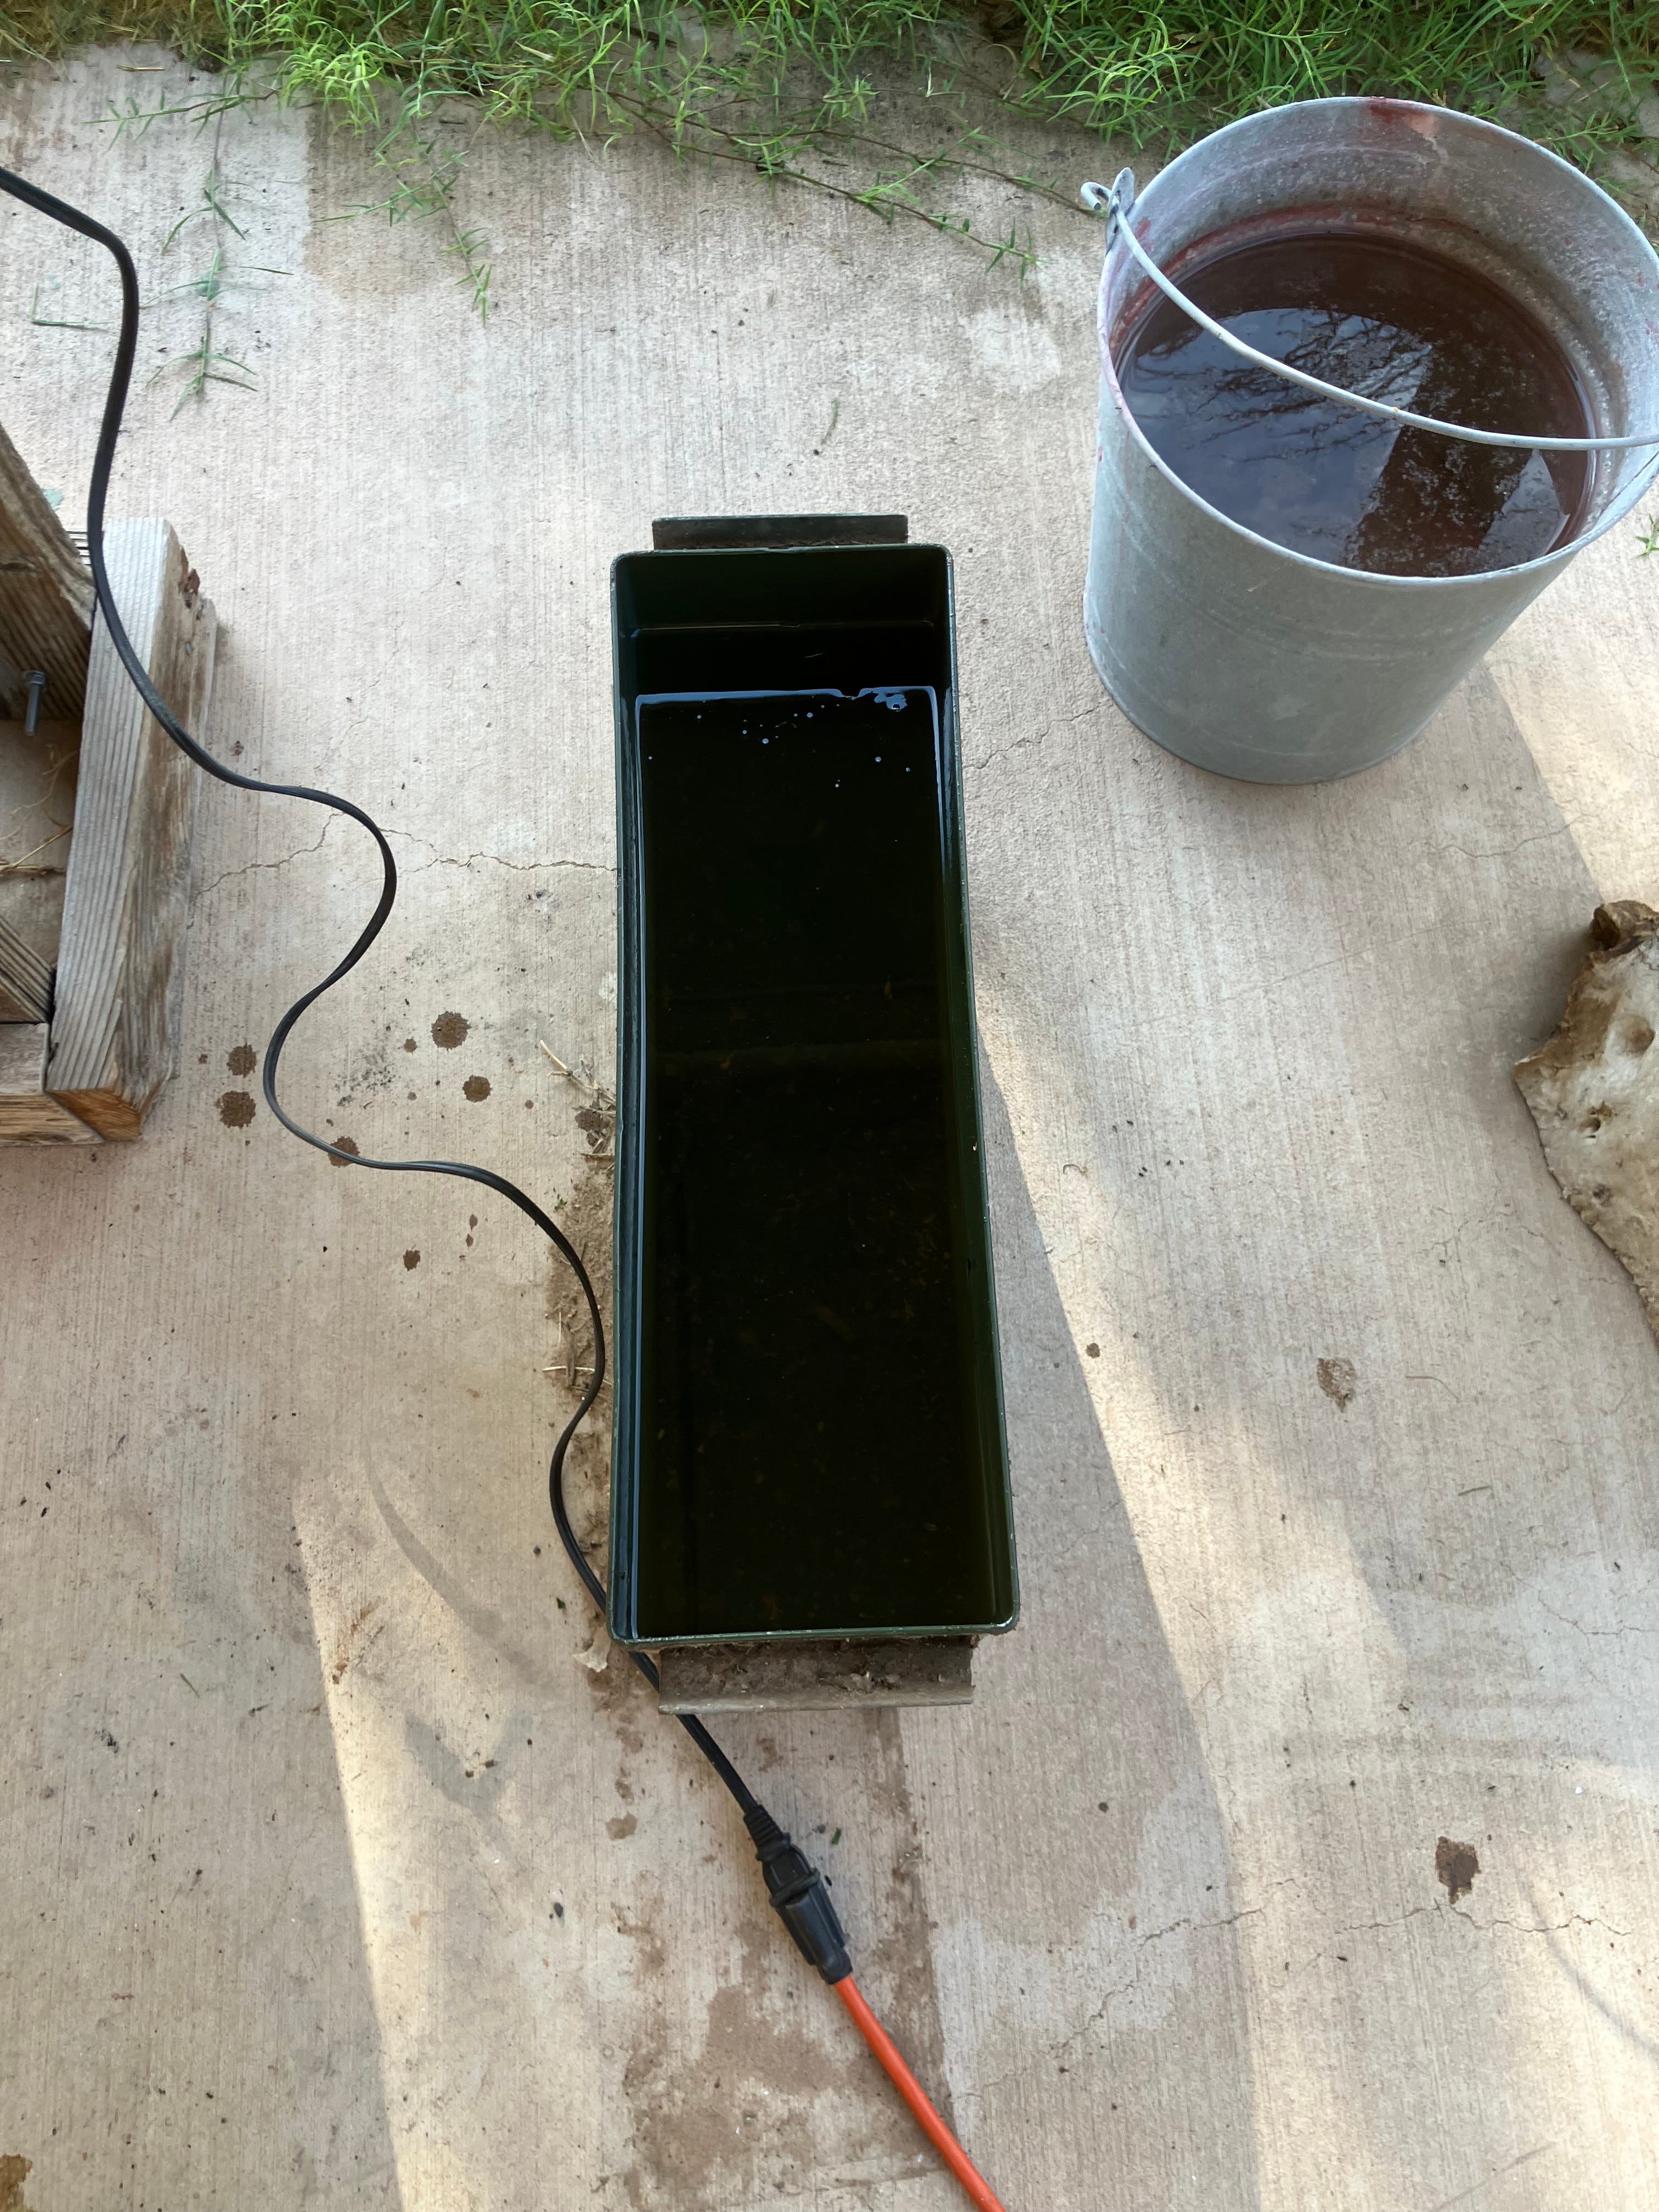
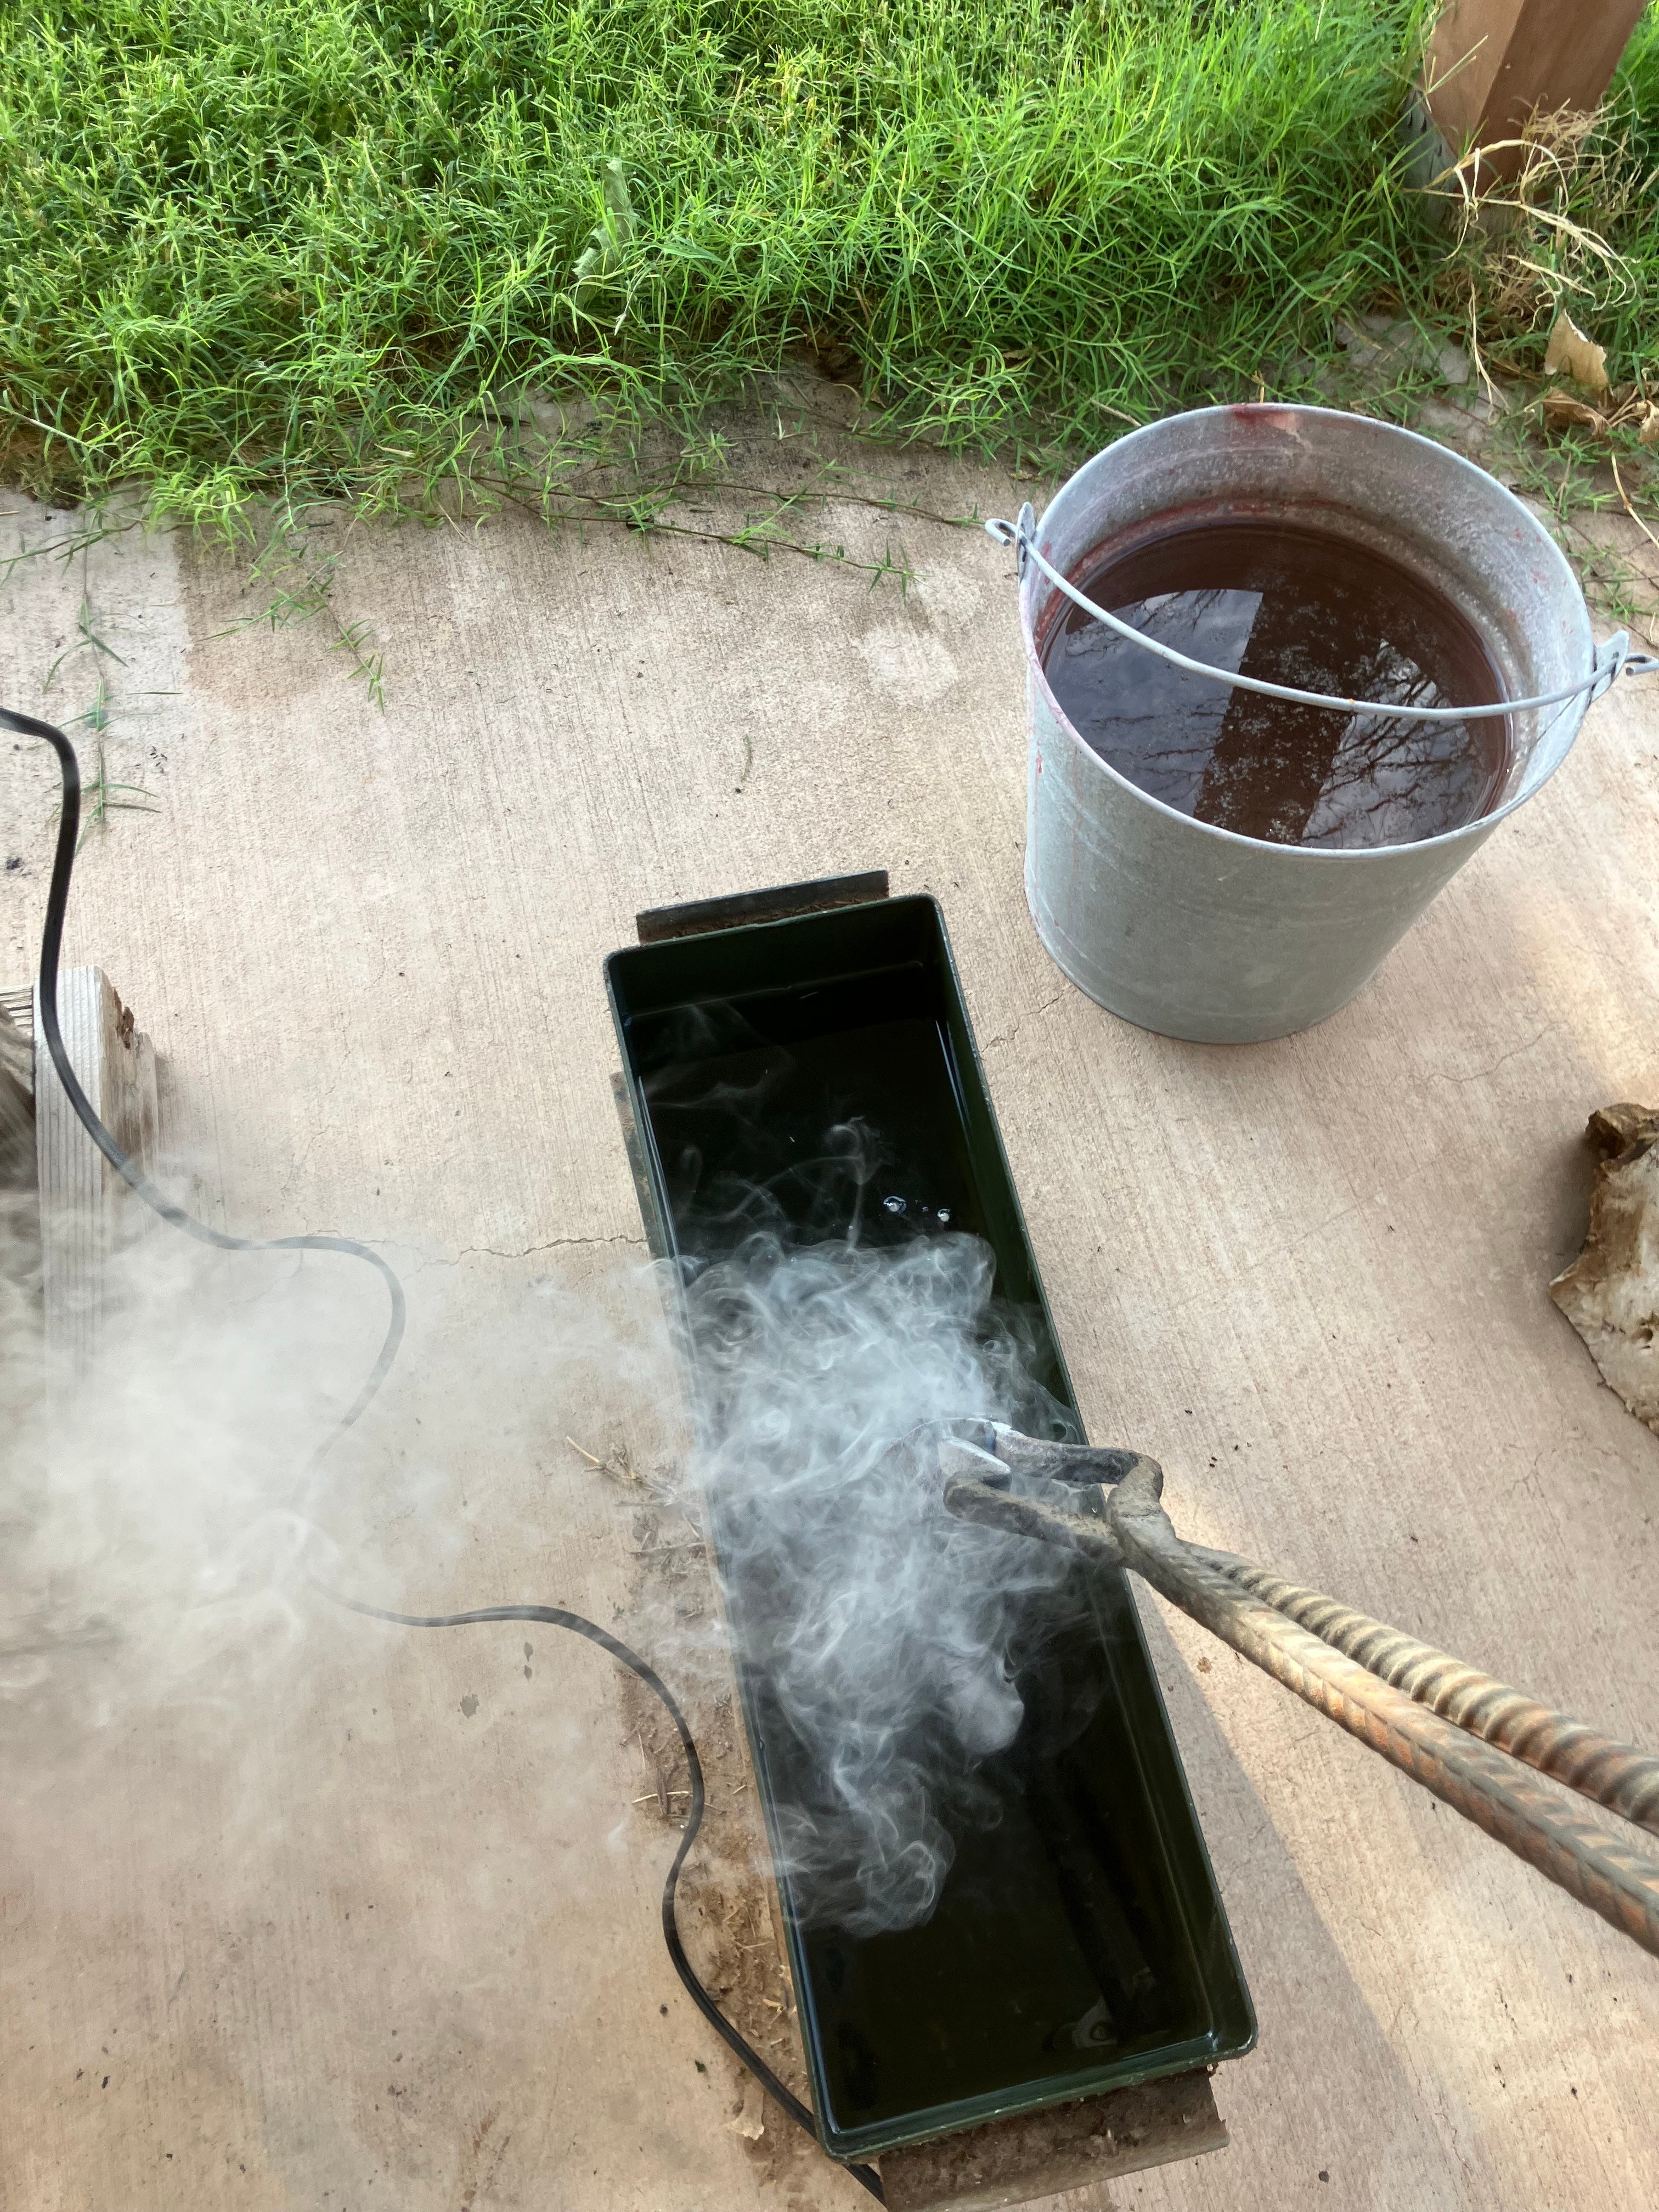
The last two things you’ll need are a magnet (remember, you know you’ve reached critical temperature when the steel goes non-magnetic) and a quenching vessel. I use an old ammunition case filled with canola oil:

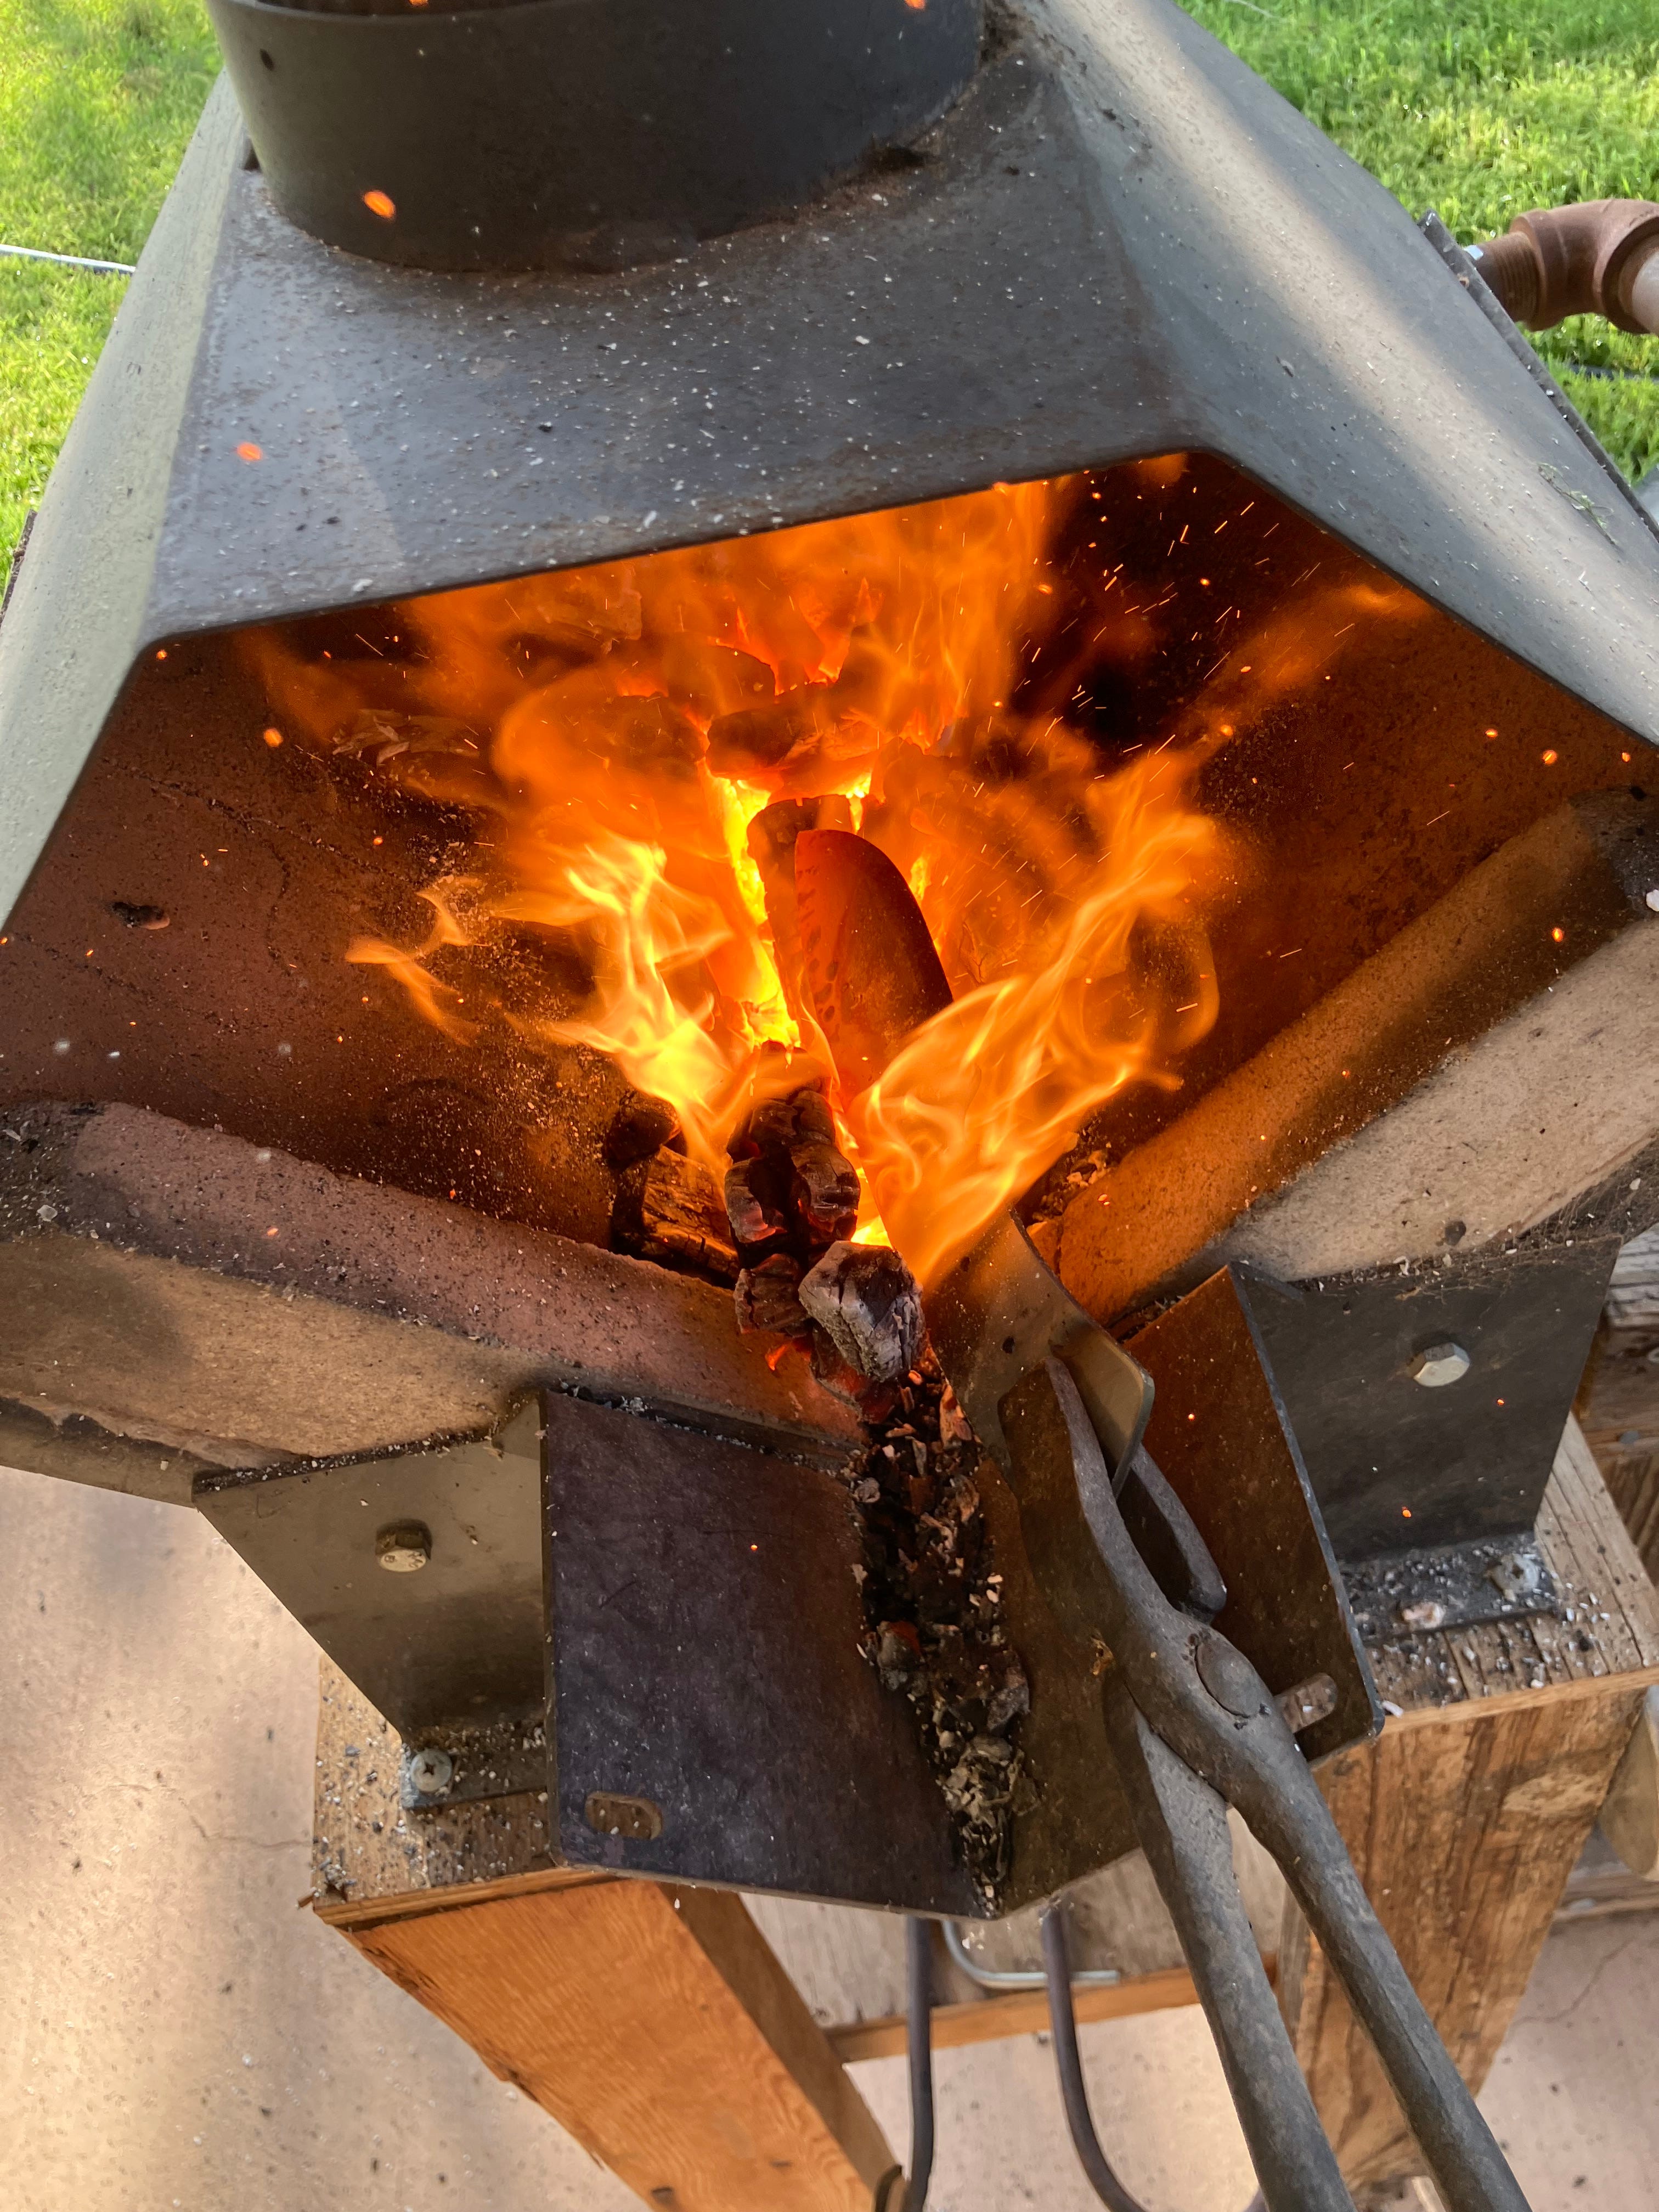
So, with our fire lit and everything else ready, all we have to do is put our blade in the fire and turn on the blower!
I always put the blade in edge side up as the thinner part of the blade will heat up quicker than the spine; this helps prevent the edge from burning or melting as we’re going to get the blade very hot. In fact, when the blade is glowing red is when we’ll put it against the magnet to check to see if it’s at critical. Depending on the size of the blade and how hot your fire is, this can take anywhere from two to ten minutes.
Once we’ve checked that the blade is non-magnetic, put it back in the fire for another two or three minutes to ensure that it will stay at critical as we move it from the forge to the quenching bucket. This is known as “soaking” the blade. Once the blade is soaked, just dip it right in the oil with your tongs. Be careful! Oil will often ignite on the surface, and water quenching gives off a lot of steam. I like to wear a welding glove on the hand holding the blade to prevent getting burned.
In this case, I only quenched the actual blade and not the handle, but it’s perfectly fine to quench the entire knife, especially if it’s a small blade. After that, just set the blade somewhere to cool.
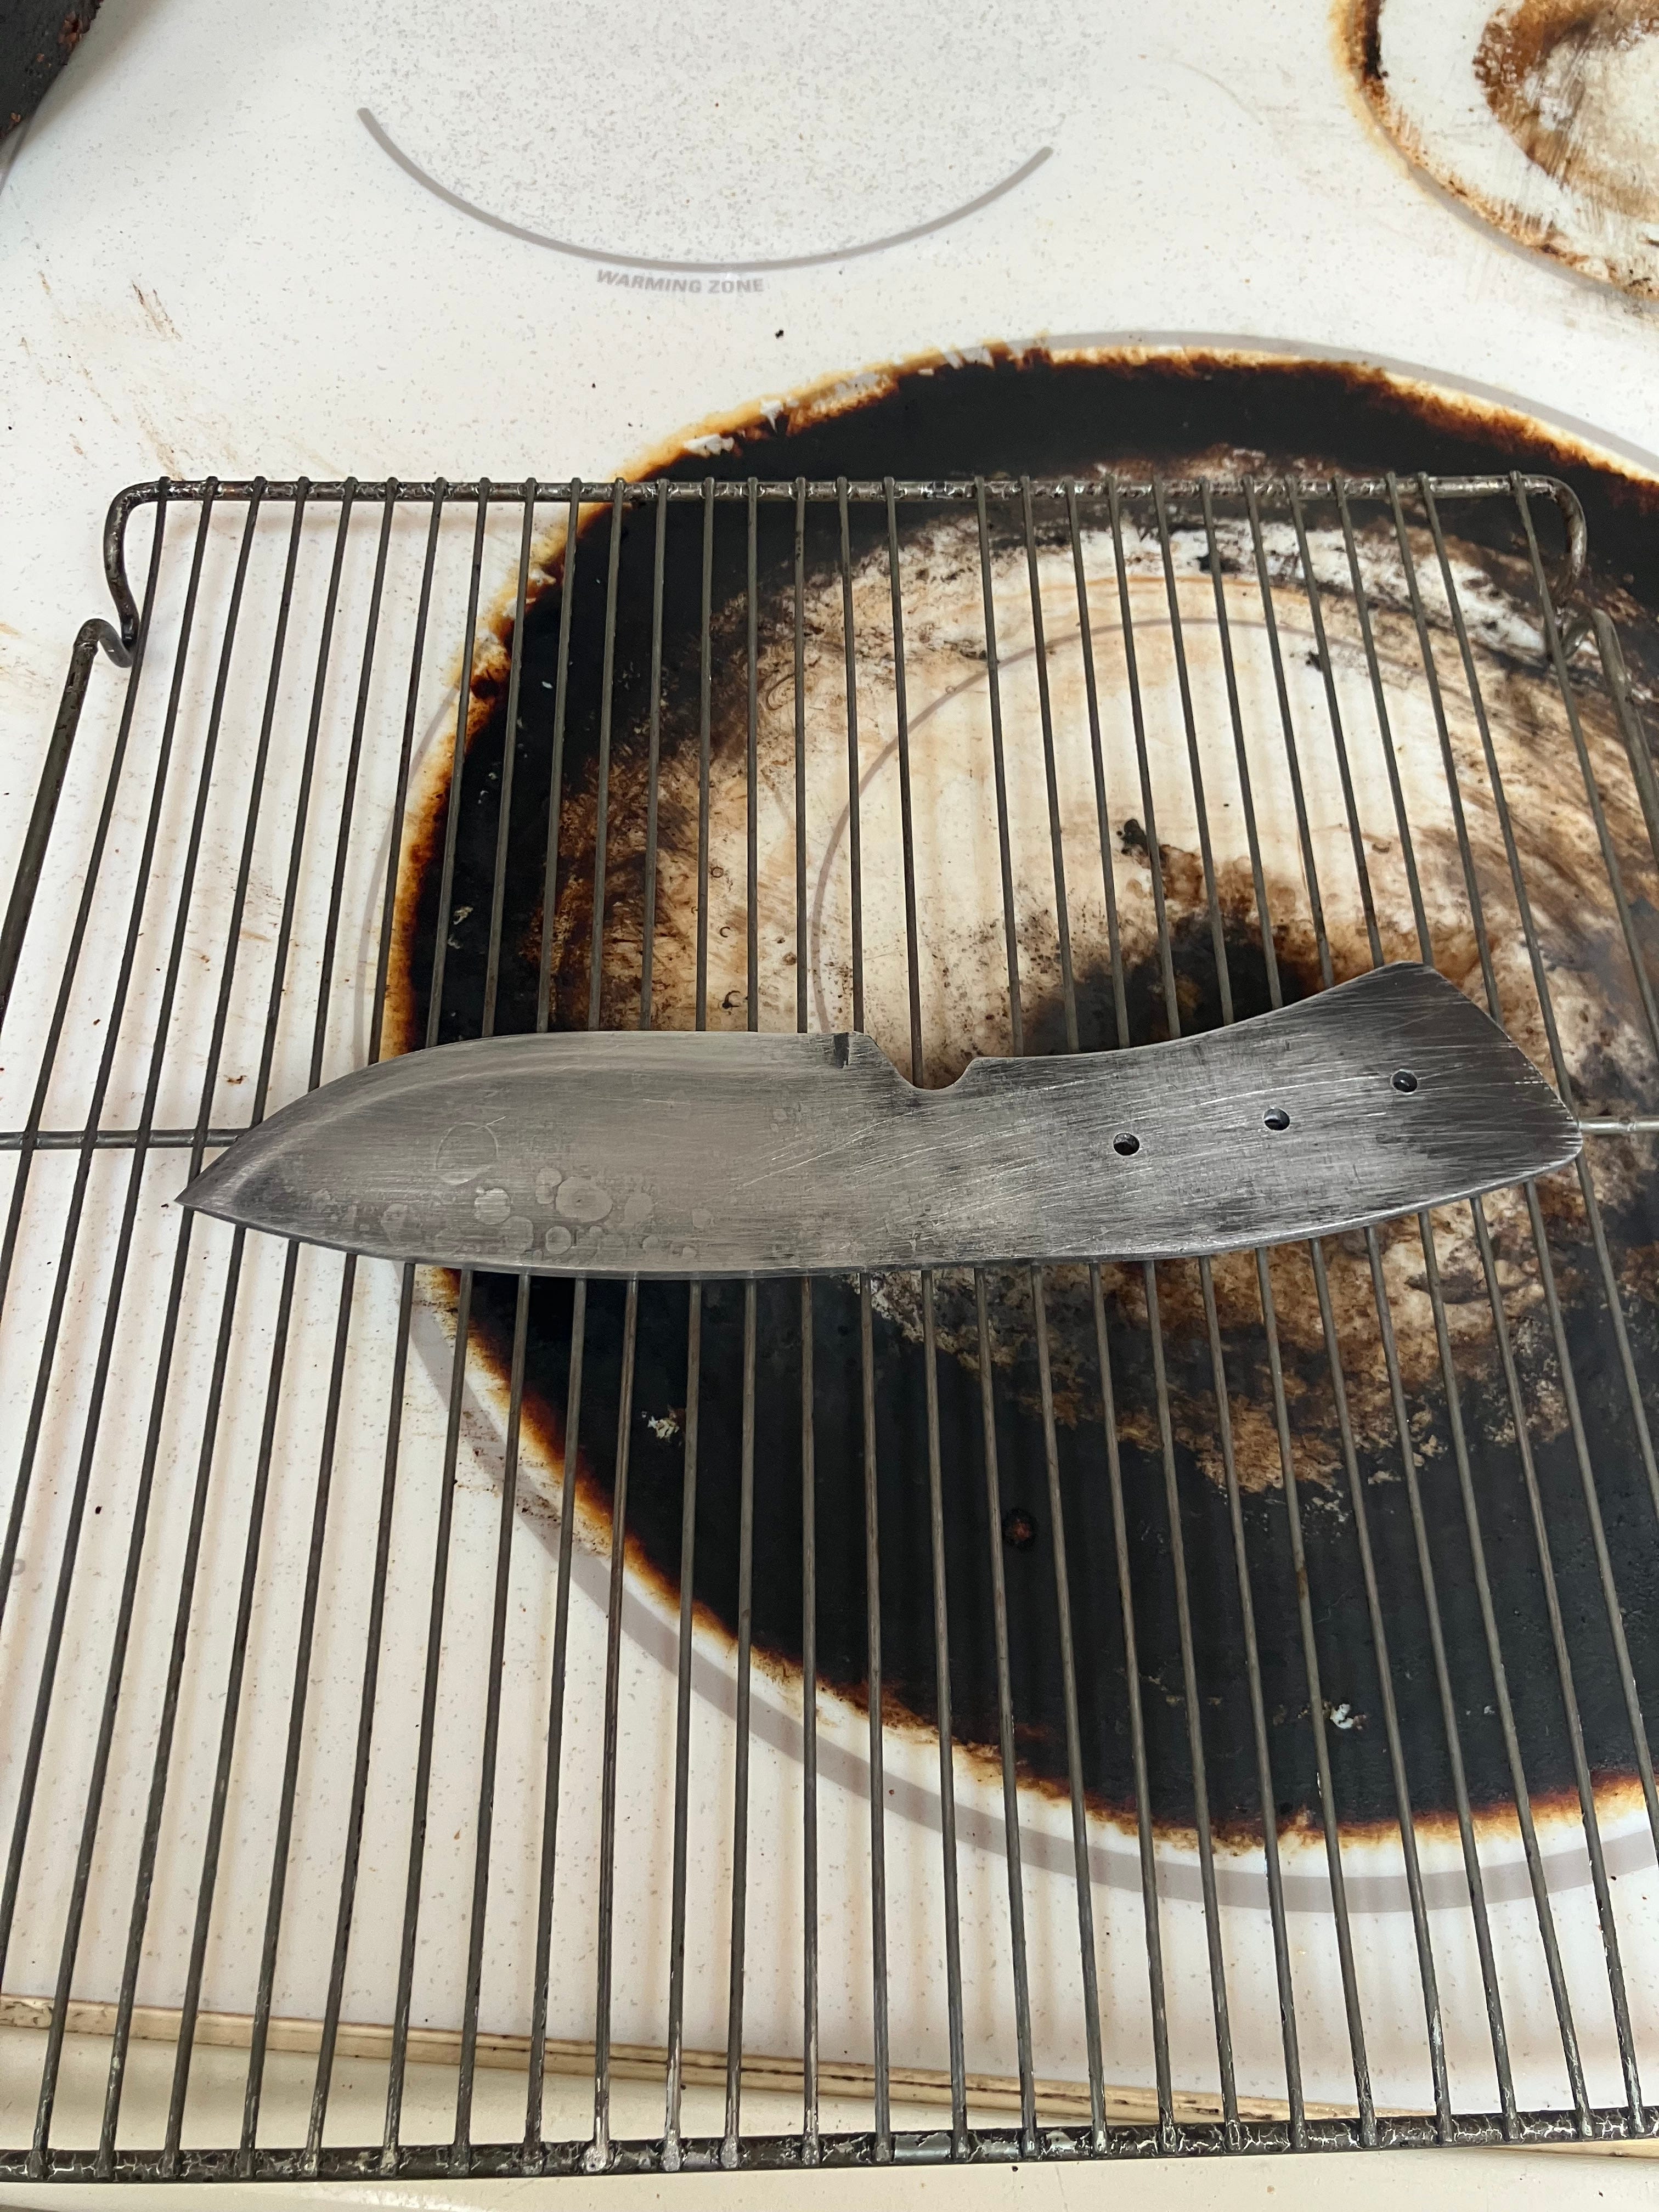
Once the blade is cool enough to handle, I scrape the scale and oil off with a wire brush and some sandpaper. The idea here is to expose the bare metal so we can observe the color for the next heat treatment, which is tempering.
The idea behind tempering is to reduce the hardness of the steel so it is not brittle and prone to chipping or breaking. If you hardened your steel to the maximum hardness than it’s also appreciably brittle. Tempering relaxes the crystaline Martensite to relieve some of the brittleness. It also makes the blade somewhat less hard, so it’s important to get it right. If you temper too little the blade is too hard and can chip or break; temper too much and the blade is too soft and won’t hold an edge. The reason why you need to be able to see the steel is because you want to re-heat the blade to what’s called a “straw” color. This is the color of the oxidation that forms on the outside of the blade. Some guys can do this by heating directly in the forge and watching the color change; I’m not that good so I just use my oven.
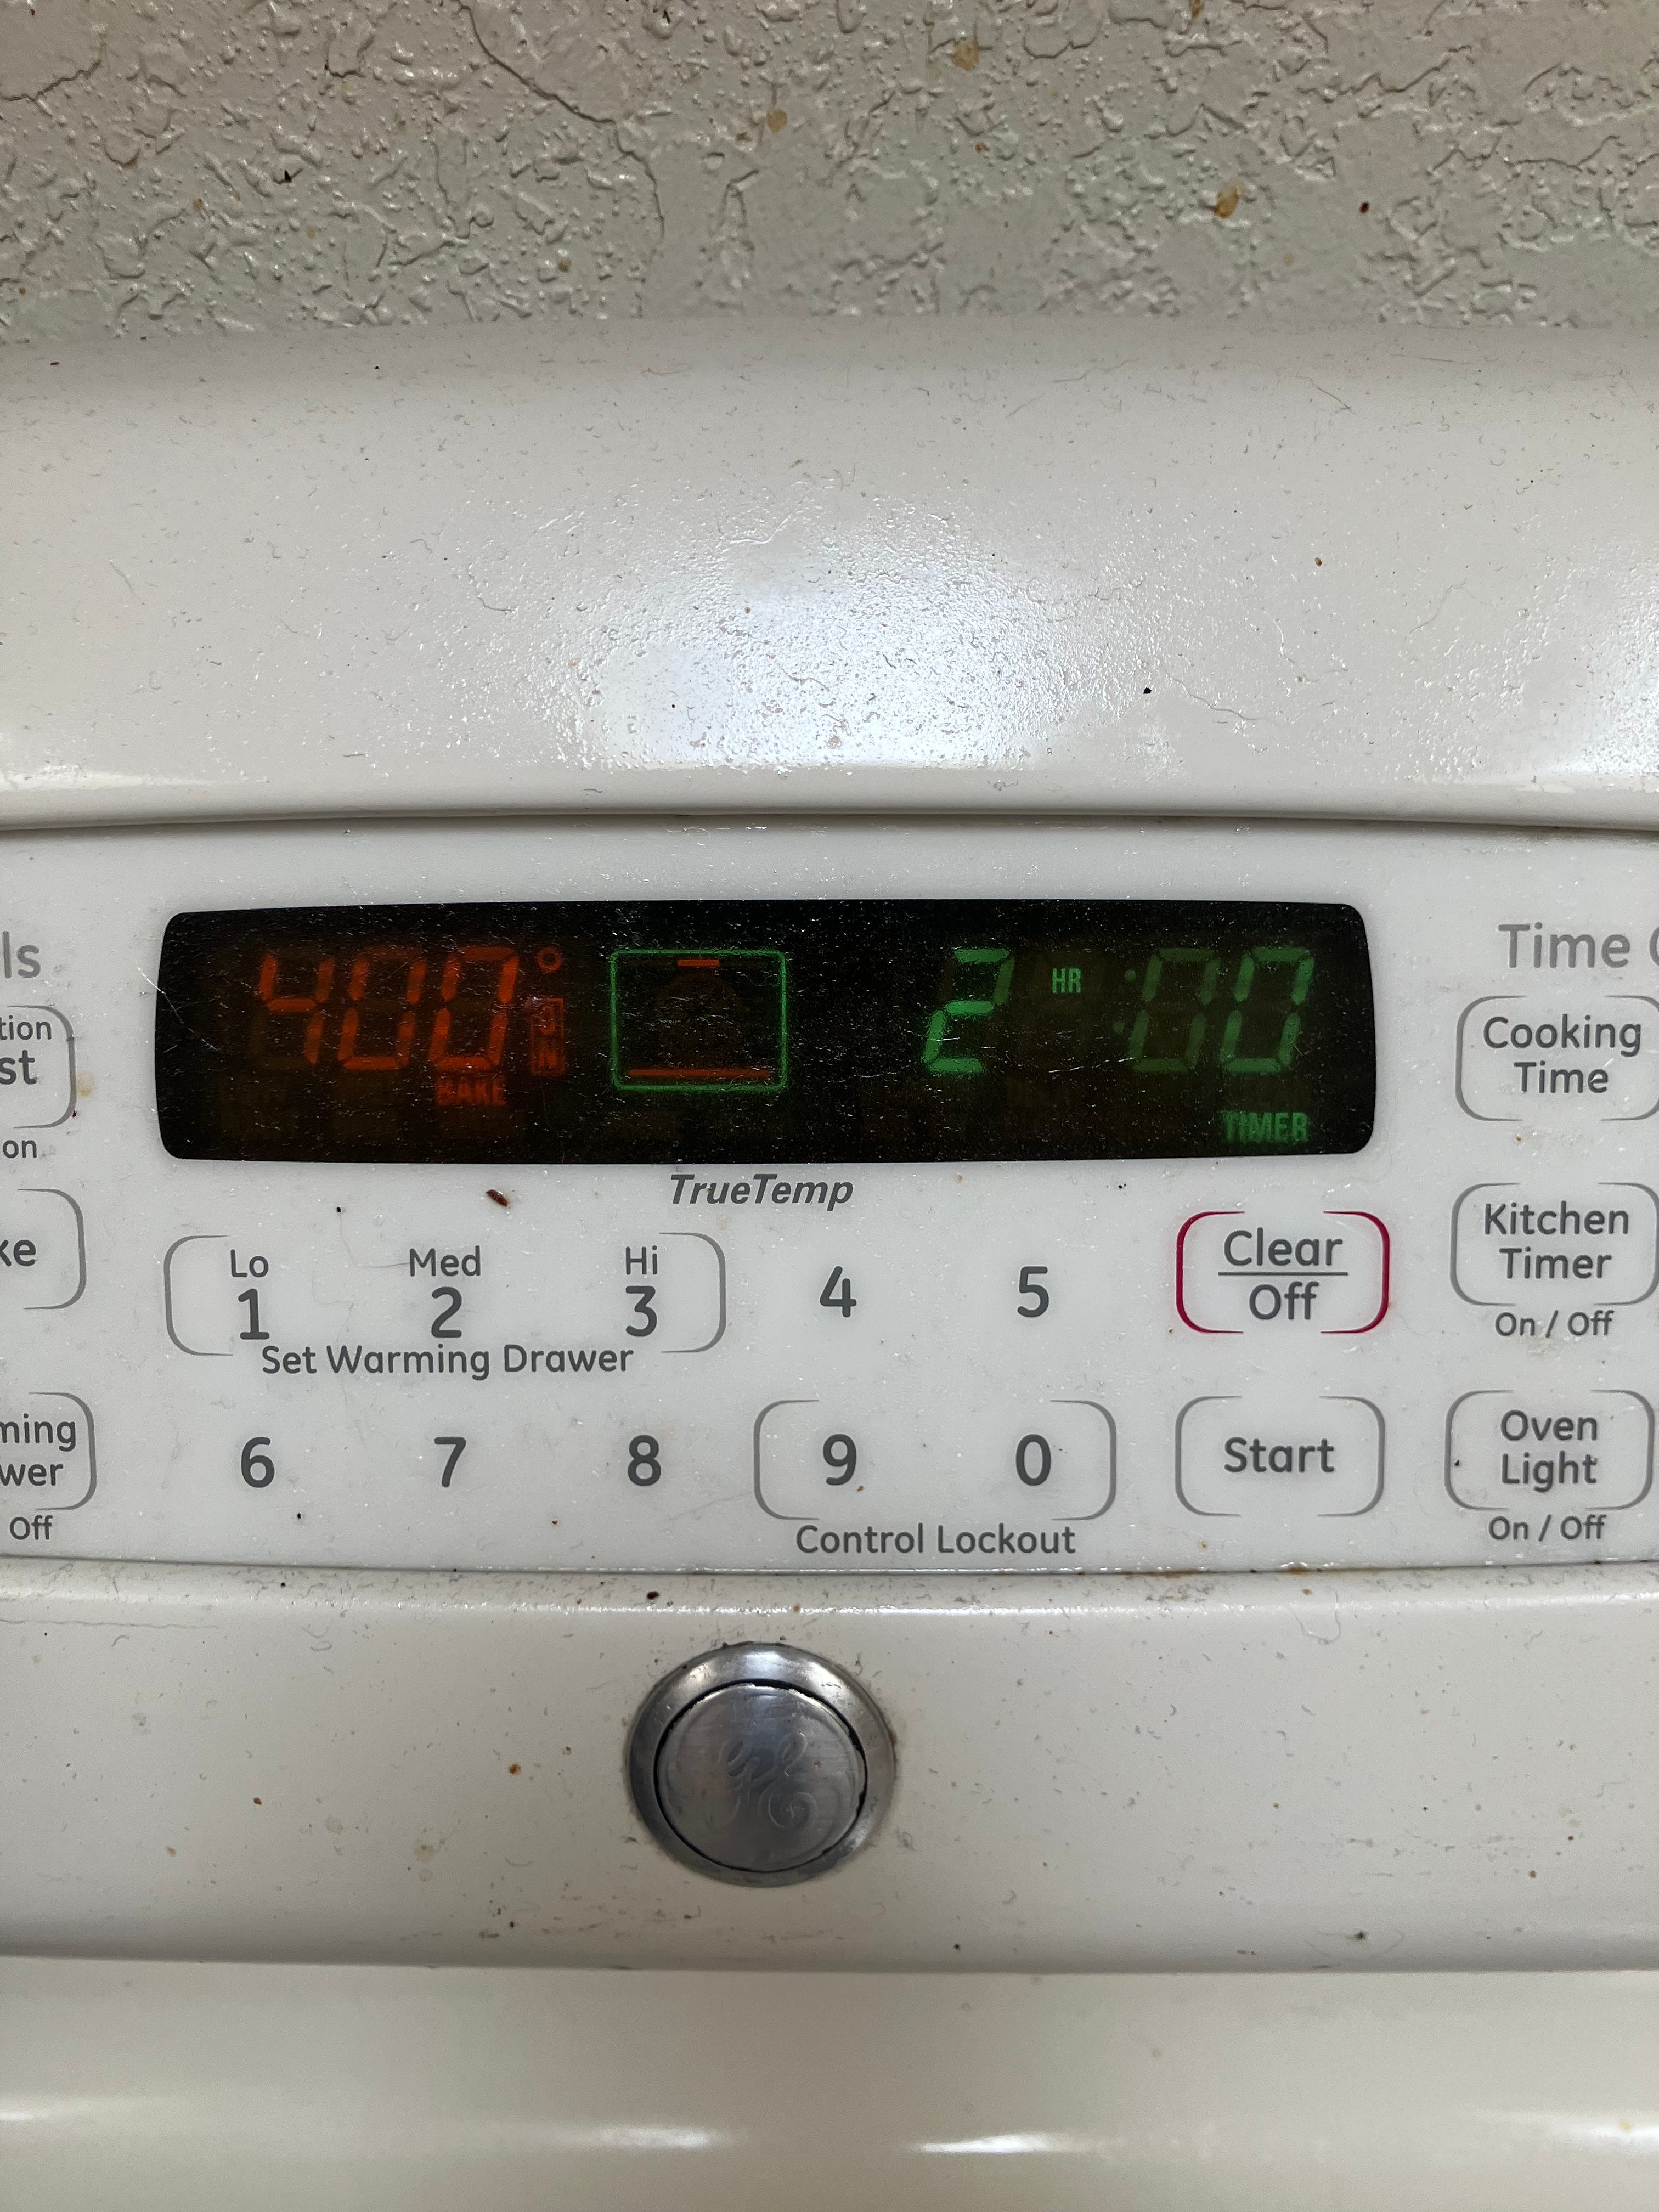
If you look up the specification for most carbon steel, they recommend tempering at around 400 degrees Fahrenheit for 2 hours, sometimes twice. So I preheat my oven to 400 degrees and stick the polished blade inside:
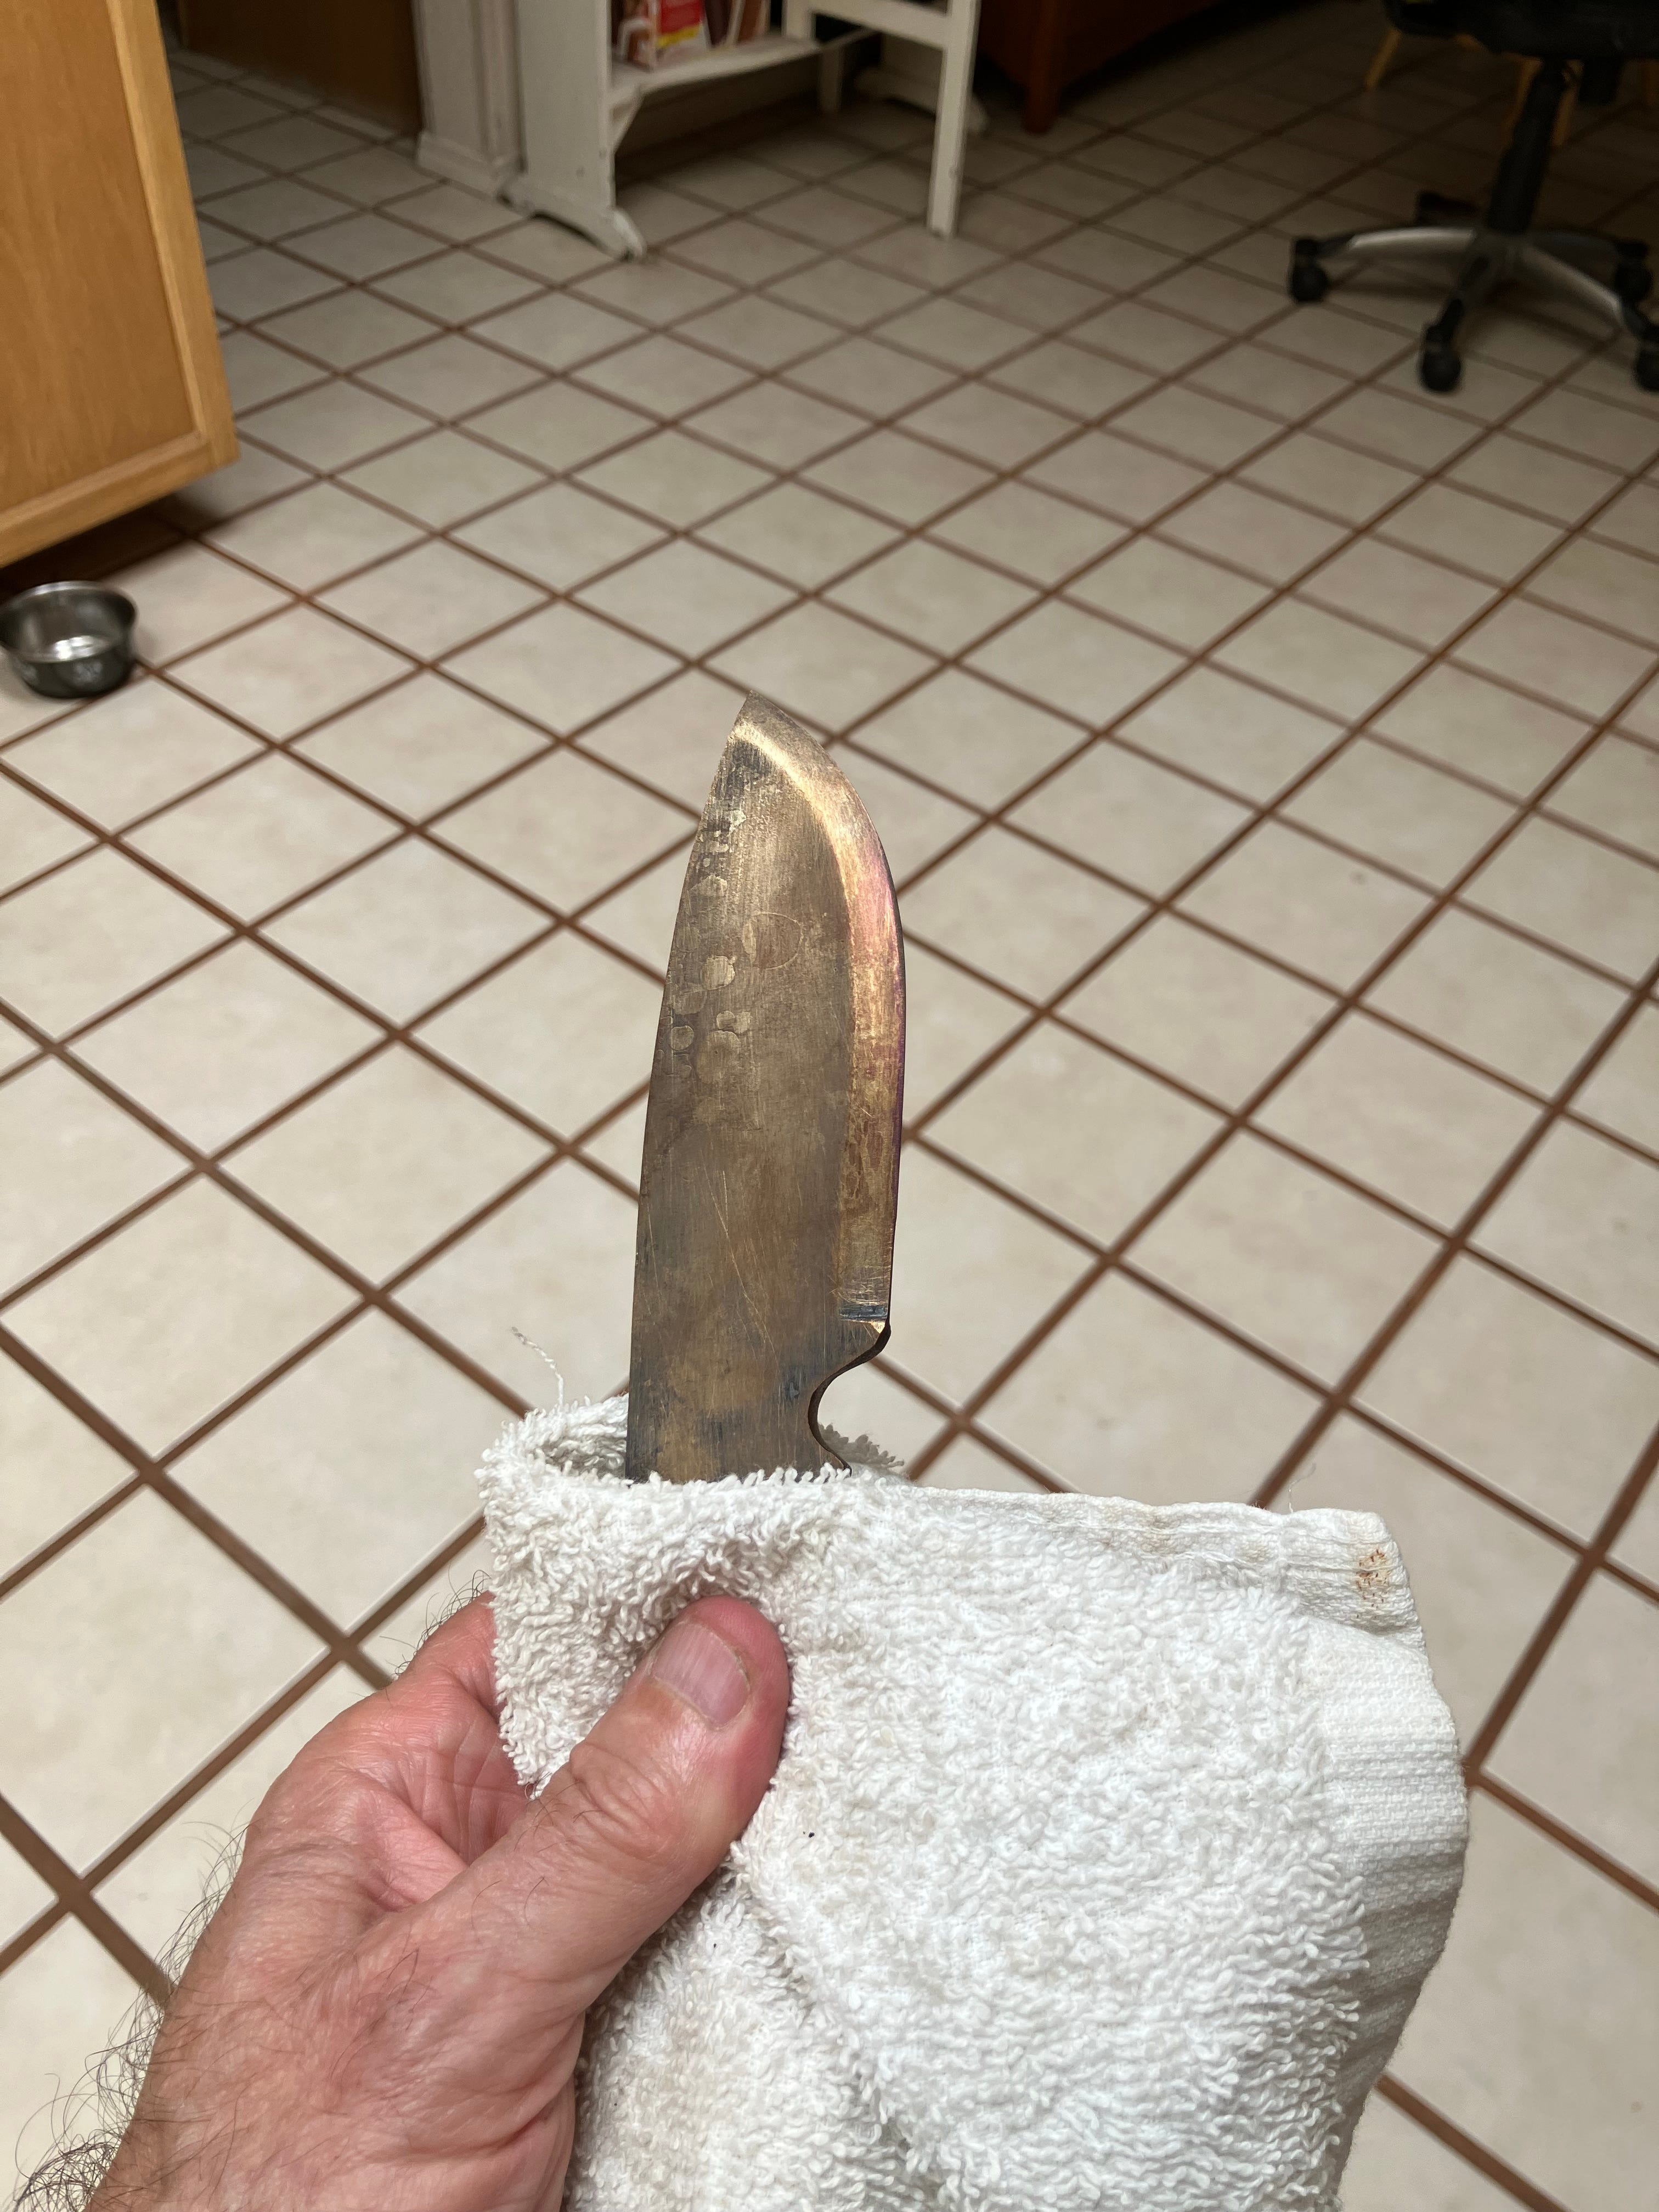
After two hours in the oven, I pull the blade out and look at the color. If I see the nice “straw” color on the blade I’m done; if I don’t, I put it back in. If it’s darker than straw that means the blade was overheated. You may have to re-harden the blade. Here’s the straw color on the tempered blade:
That’s the end of heat treating the blade! In the last segment we’ll do the handle and finish up the knife.
Whaddaya think about that show Forged in Fire?
As a layperson it seems like the contestants' most typical problem is that they're not used to time constraints. If even one phase of the process takes too long, then they're dead in the water. The gamification, in other words, is what gets them.
(All this assumes that you've seen the show.)
Love these posts! What a skill you have Ernie!